Normal Case Protocol
-
1Select the shade
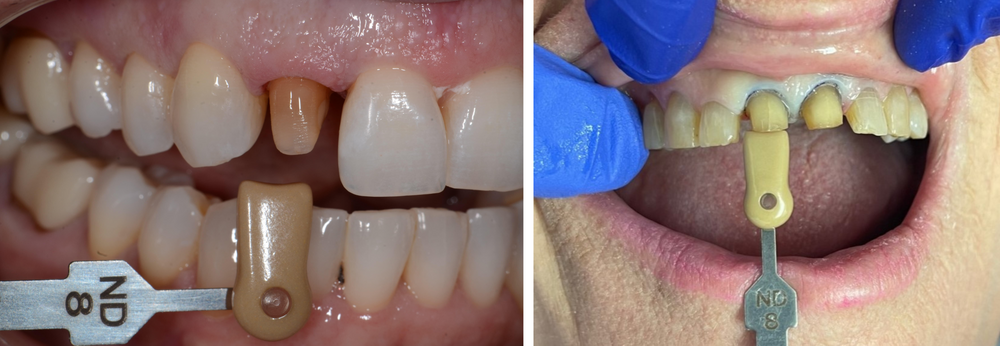
- Select the shade before taking the preop scan and prepping. Once the teeth dehydrate, you will not get a reliable shade.
- Select a VITA Classical shade for the base.
- All of our pucks are based on the VITA Classical shade guide, so this will provide the most accurate shade match.
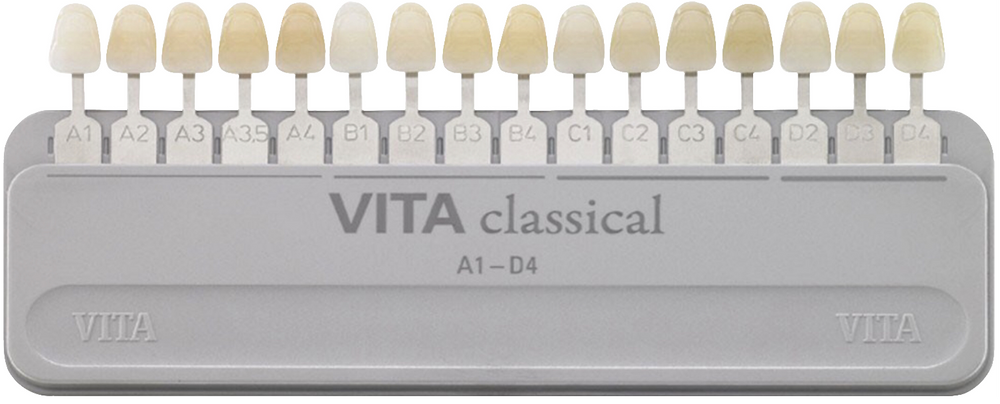
- VITA 3D shade guides are helpful as a reference tool for staining.
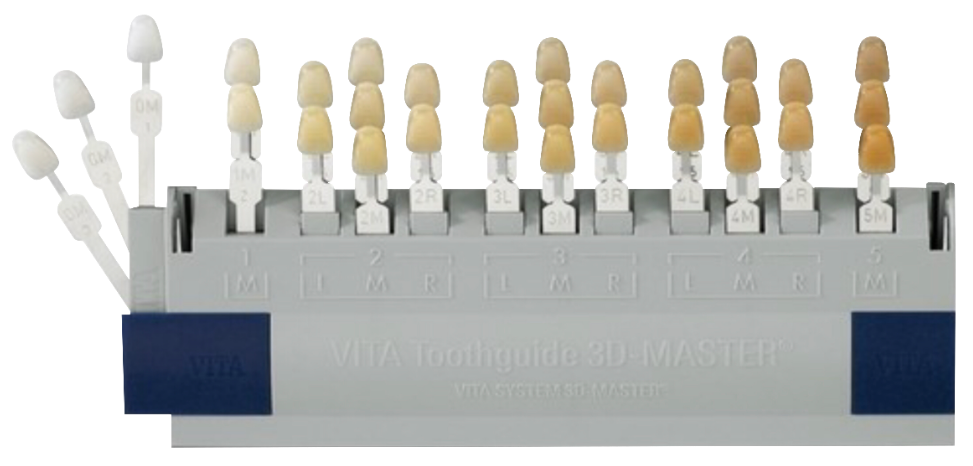
- All of our pucks are based on the VITA Classical shade guide, so this will provide the most accurate shade match.
- Take a picture with the shade tab(s) visible, lining up the incisal edge of the tooth with the incisal edge of the shade tab.
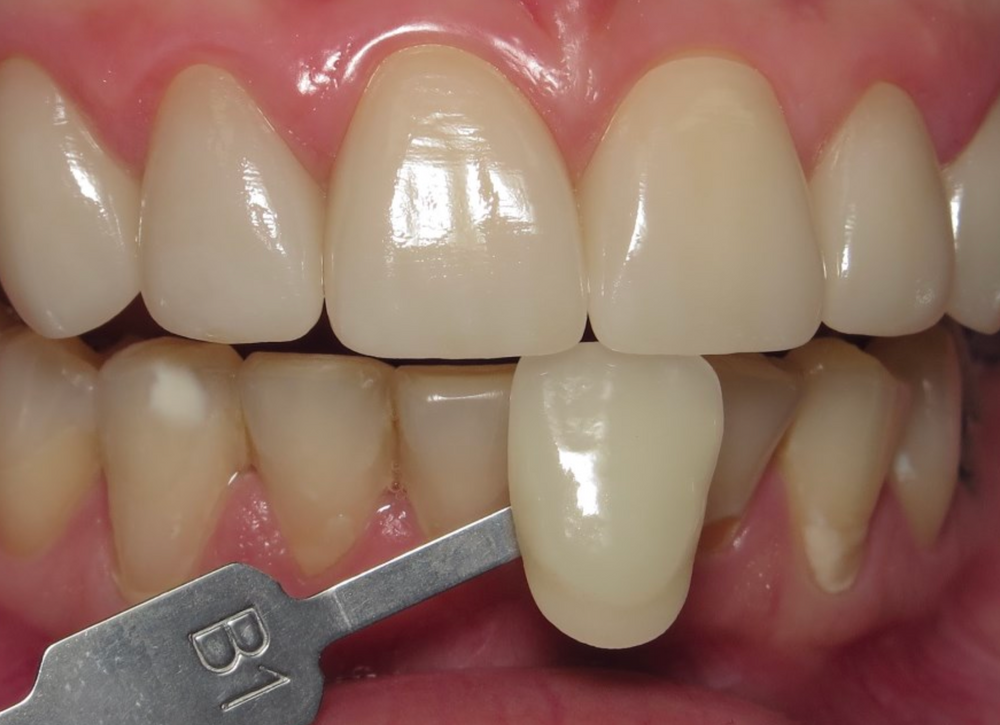
See our Shade Selection Guide for more details. -
2Take a preop scan
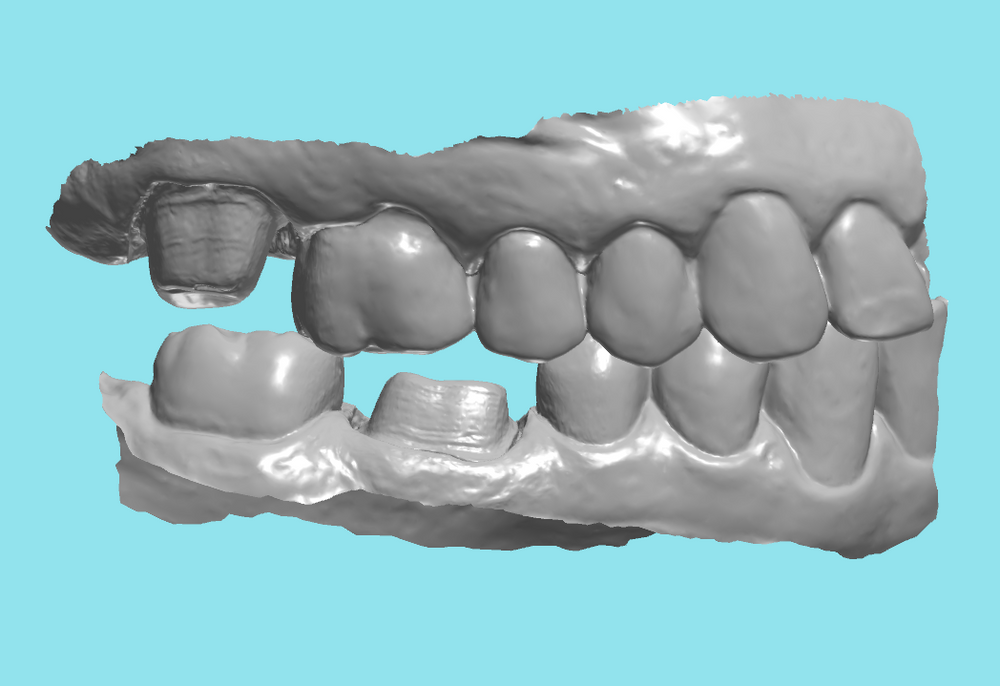
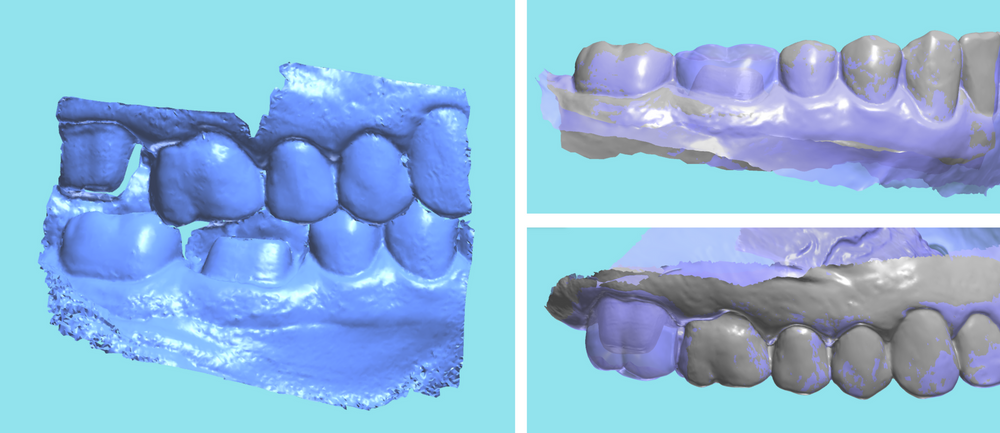
- A preop scan provides an occlusal reference point (we can use the preop to check the boundaries of our new design if needed).
- A preop scan lets you record the bite before the patient is numb.
- A preop scan gives you the data to more quickly check the occlusal clearance on the prep during the procedure.
- A preop scan should make your final prep/margin scan more quick and simple (be sure to recapture the teeth and tissue on either side of the preps so that the final prep/margin scan is aligned correctly)
- Note: taking a preop scan in the same scan as the final margin scan is only best on smaller cases where there is not extra edentulous area. See our Large Case Protocol for more details.
-
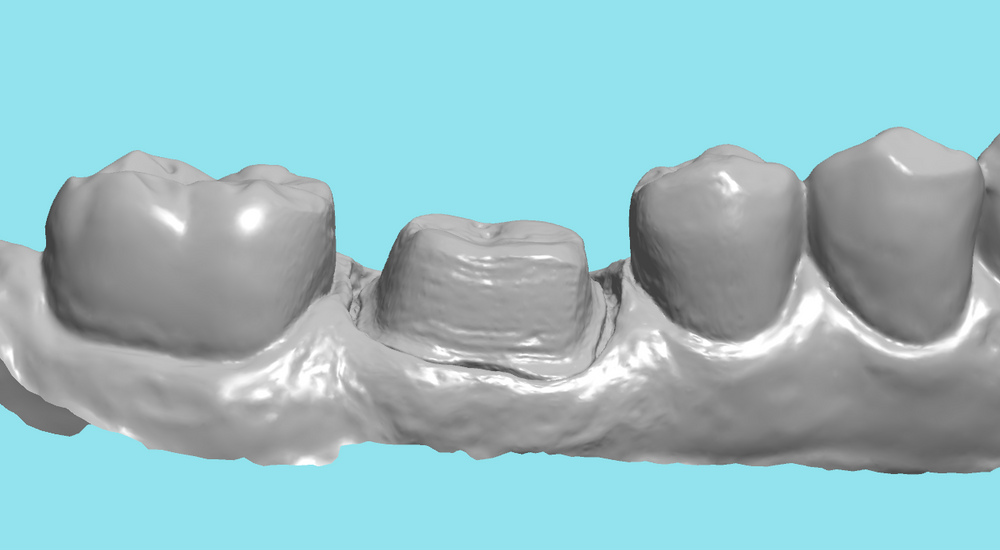
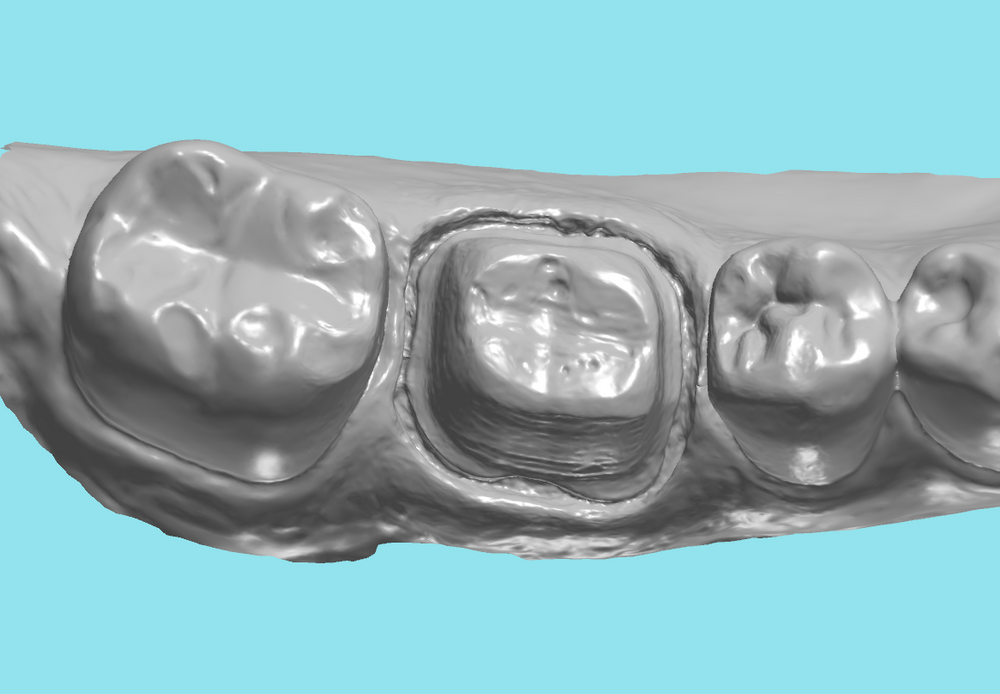
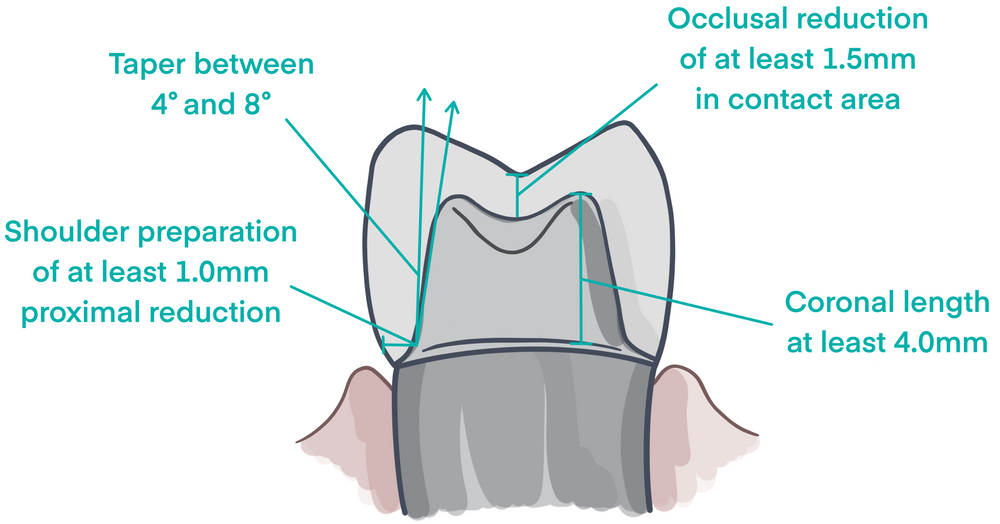
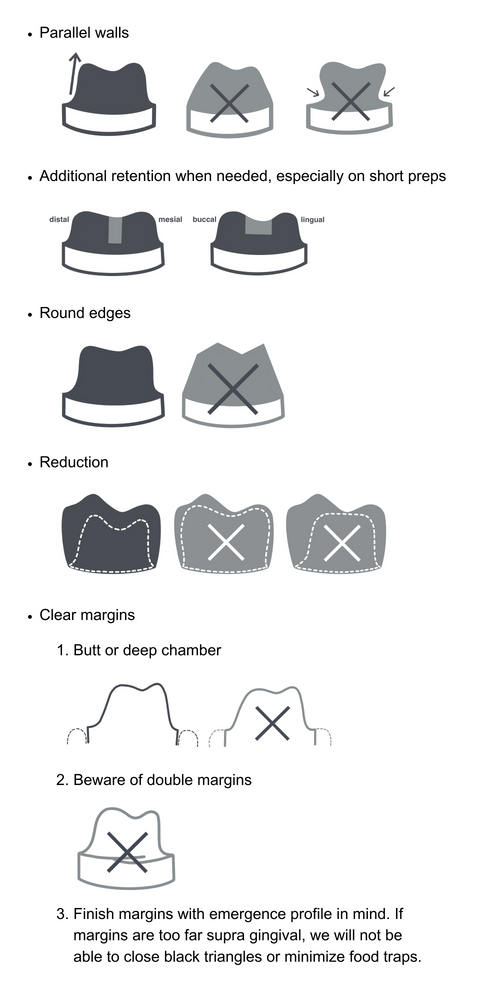
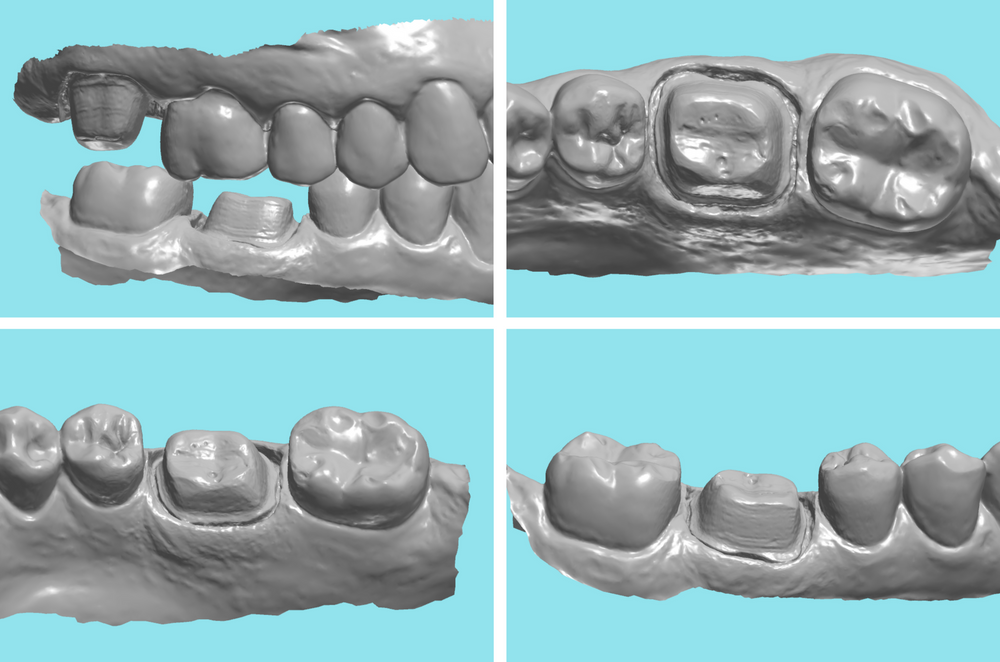
3Prep the casePrepare the unit(s) for the best digital restoration possible under the circumstances.
- Ideal:
- Include a stump shade photo if the prep is darker than the surrounding teeth.
- Ideal:
-
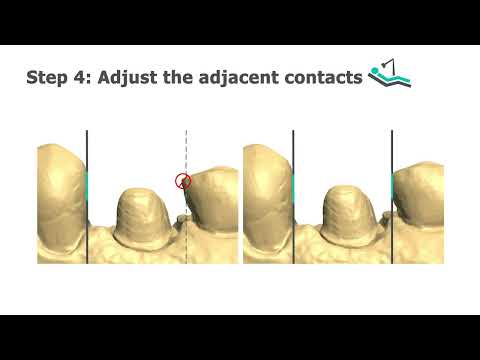
4Adjust the adjacent contacts
- Parallel with the prep and with each other for draw and breadth

- Broad contacts for ideal restoration(s)
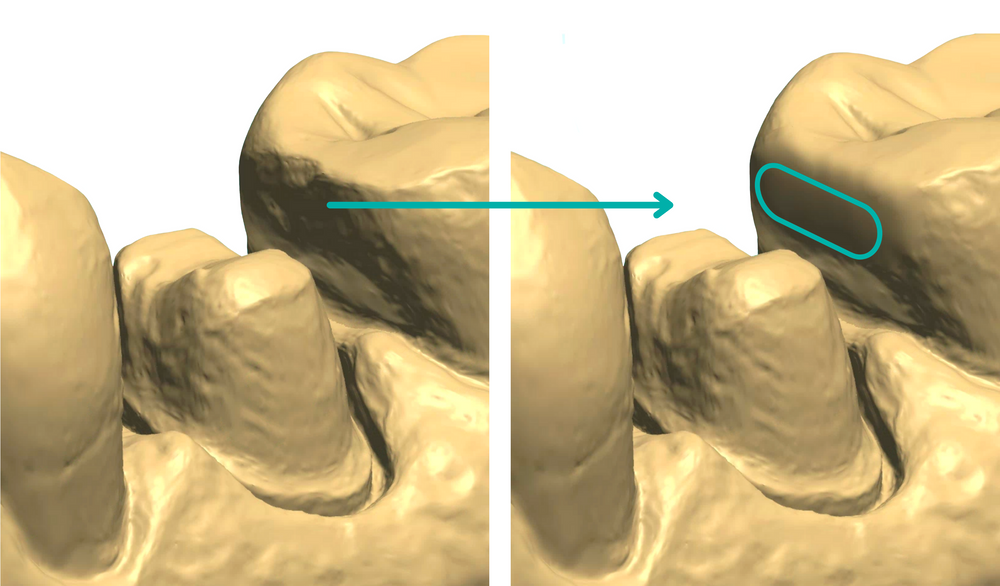
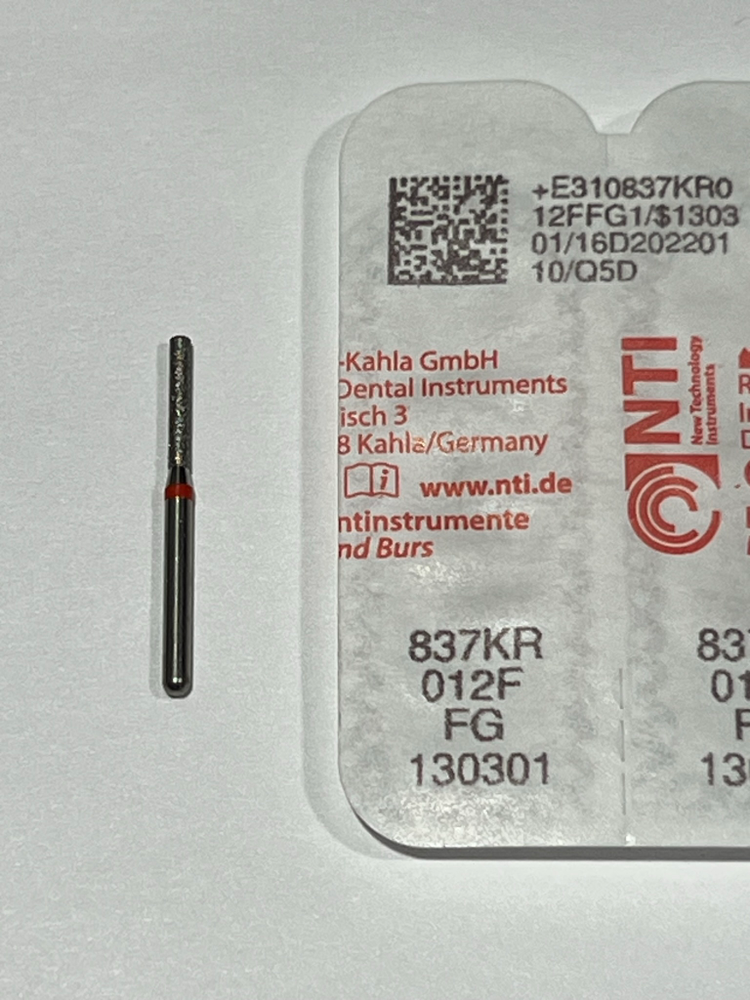
- First, adjust with a fine, parallel diamond as if prepping abutments to draw for a bridge. (Ortho teaches that removing up to .25mm of enamel is safe).
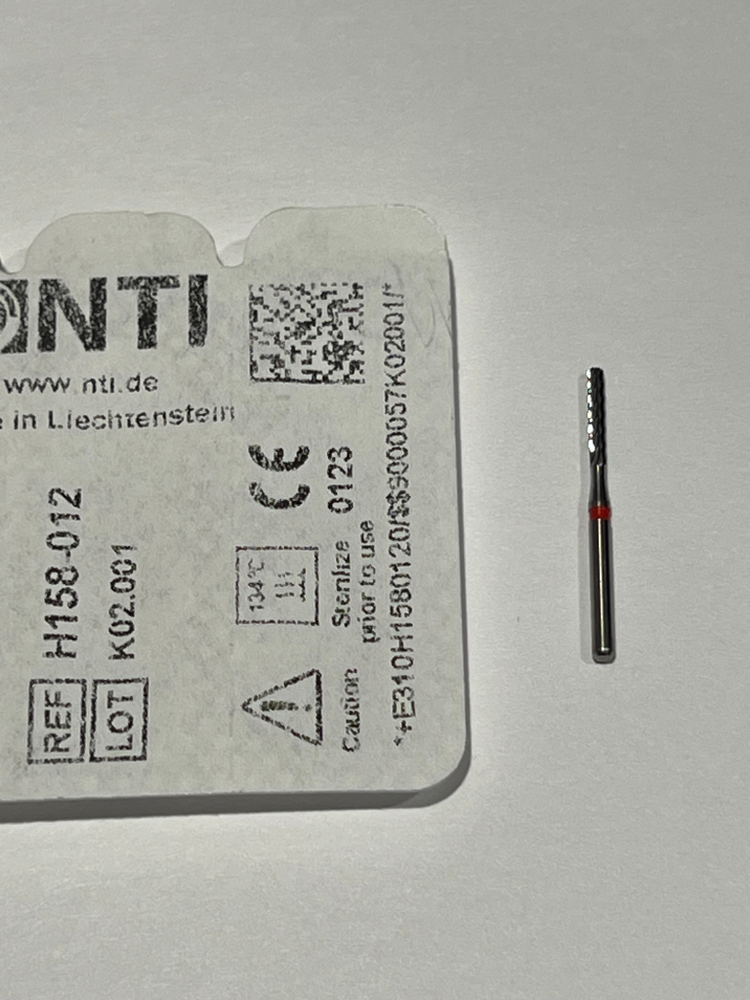
- Second, smooth with a fine, parallel, non-criscut carbide for keeping the draw and breadth but cleaning up the micro scratches from the fine diamond.
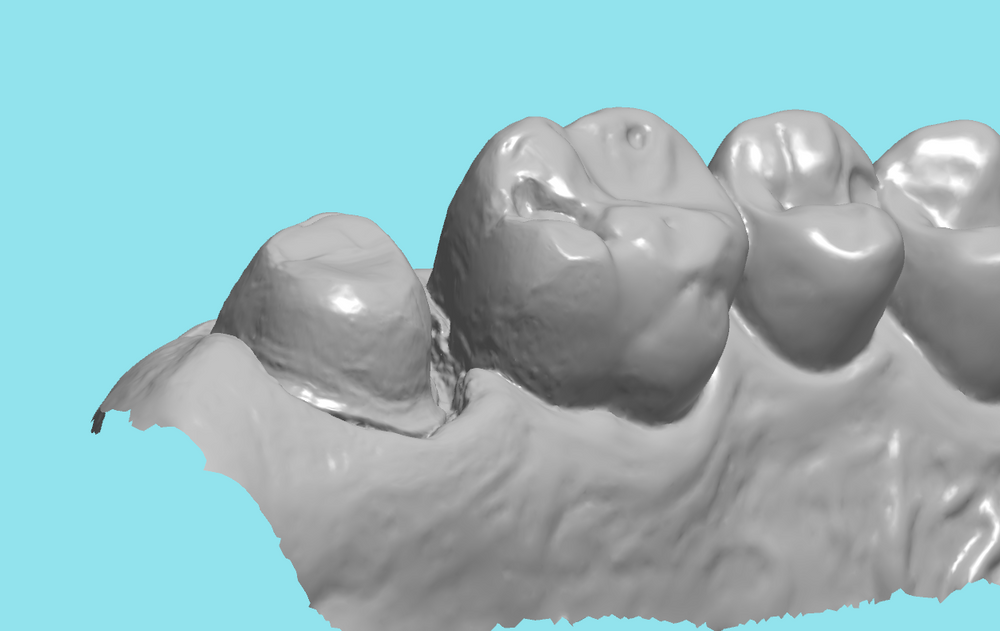
- Parallel with the prep and with each other for draw and breadth
-
5Evaluate the opposing and bite
- Smooth off sharp, deep opposing cusps.
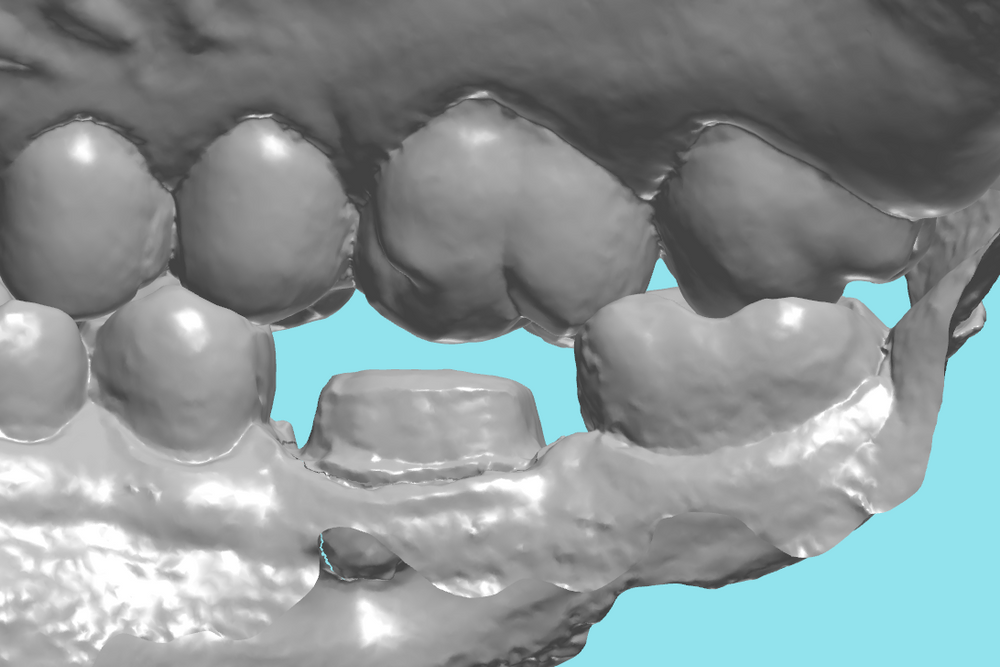
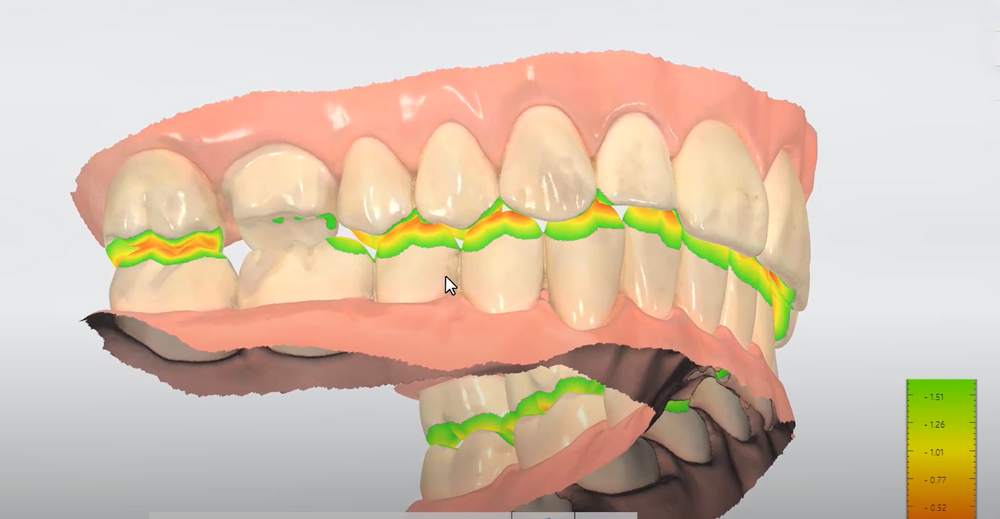
- Check the occlusal clearance carefully
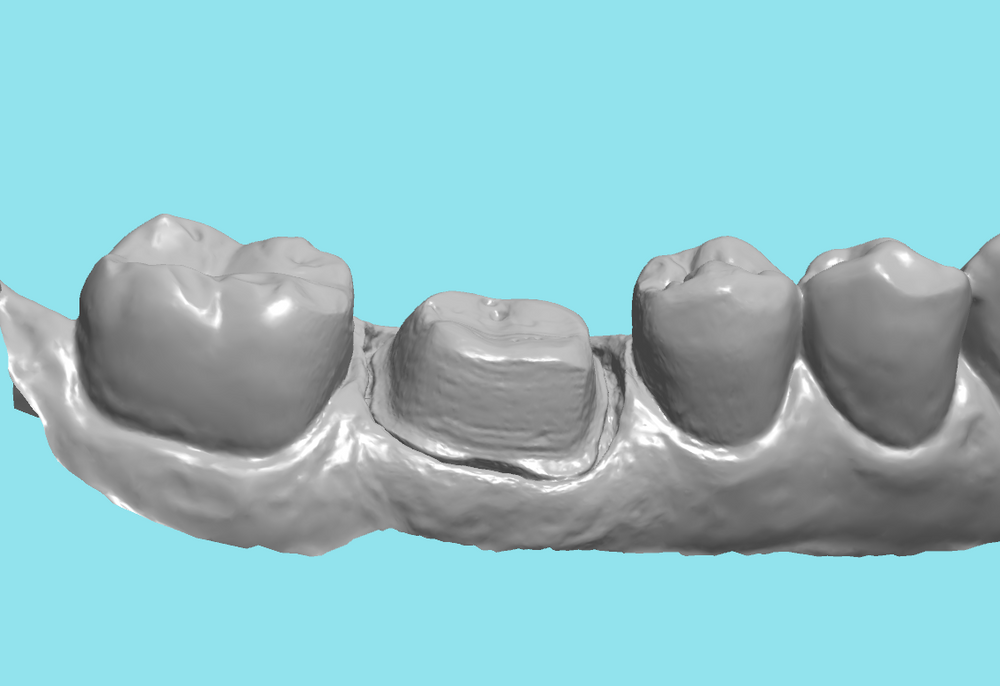
- Using the preop scan, cut out the prepped tooth, and take a preliminary scan of the prep before packing cord
- Checking scanner occlusal indicators for clearance (see step 3 for ideal)
- Check the patient's bite and if unusual take a picture for reference.
- Practice having the patient bite.
- Smooth off sharp, deep opposing cusps.
-
6Perfect the temporary
- Ensure the contacts and occlusion of the temporary have a precise fit.
- A thin articulating foil can help to check the details on contacts and occlusion.
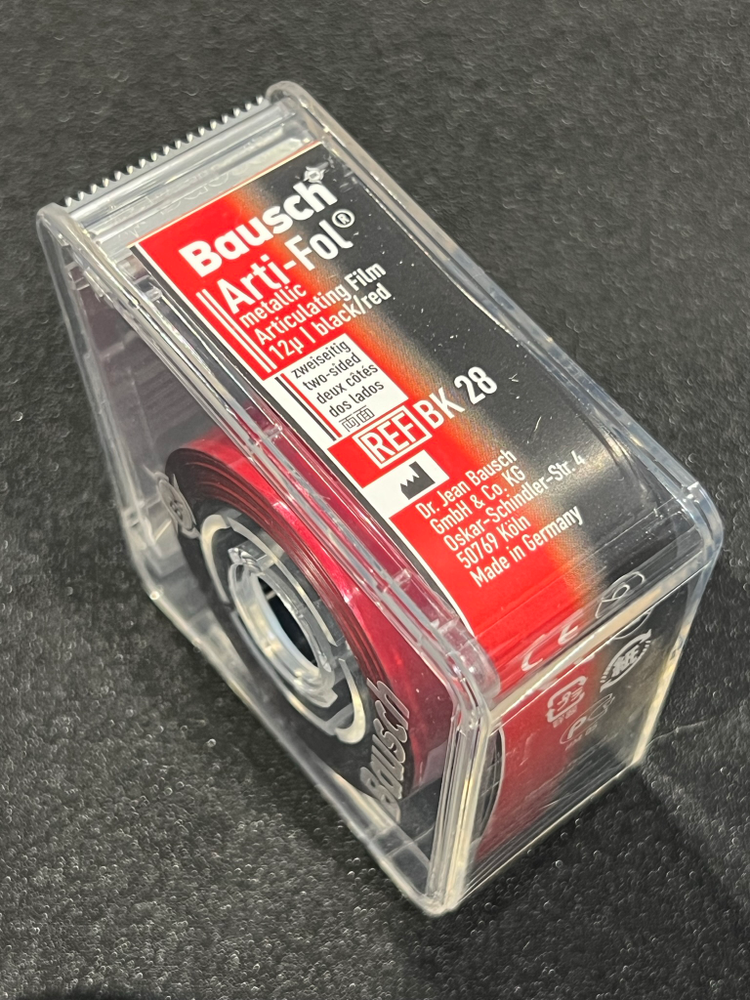
- A thin articulating foil can help to check the details on contacts and occlusion.
- Ensure the contacts and occlusion of the temporary have a precise fit.
-
7Scan the critical aspects of the case
- For posterior units a quadrant scan including the canine works well.
- The margins should be clearly visible and distinct from the tissue or saliva in the scan: we recommend double packing cord and removing the top one for scanning.
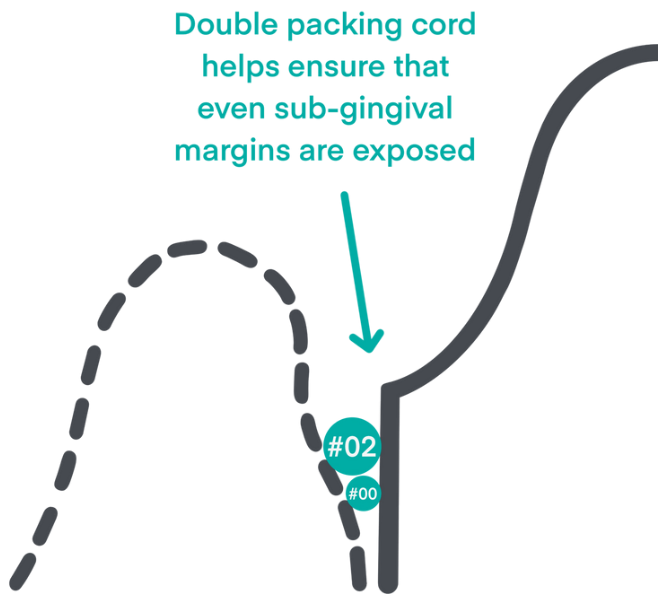
- Make sure the prep is CDC:
- Clean (no debris)
- Dry, dry, dry!
- Clean (margins)
- Remember that tissue and tooth structure look the same to a scanner.
- Clean the margins with a micro brush.
- Make sure the prep is CDC:
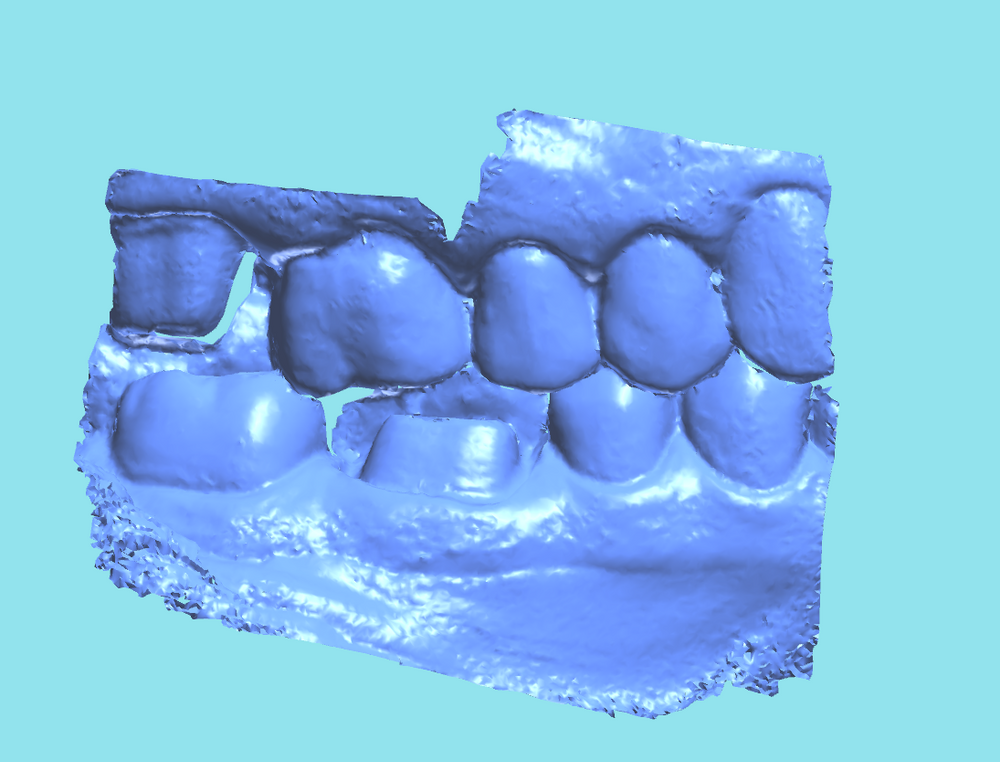
- Capture the contact and occlusal aspects that need to be in contact with the restoration(s).
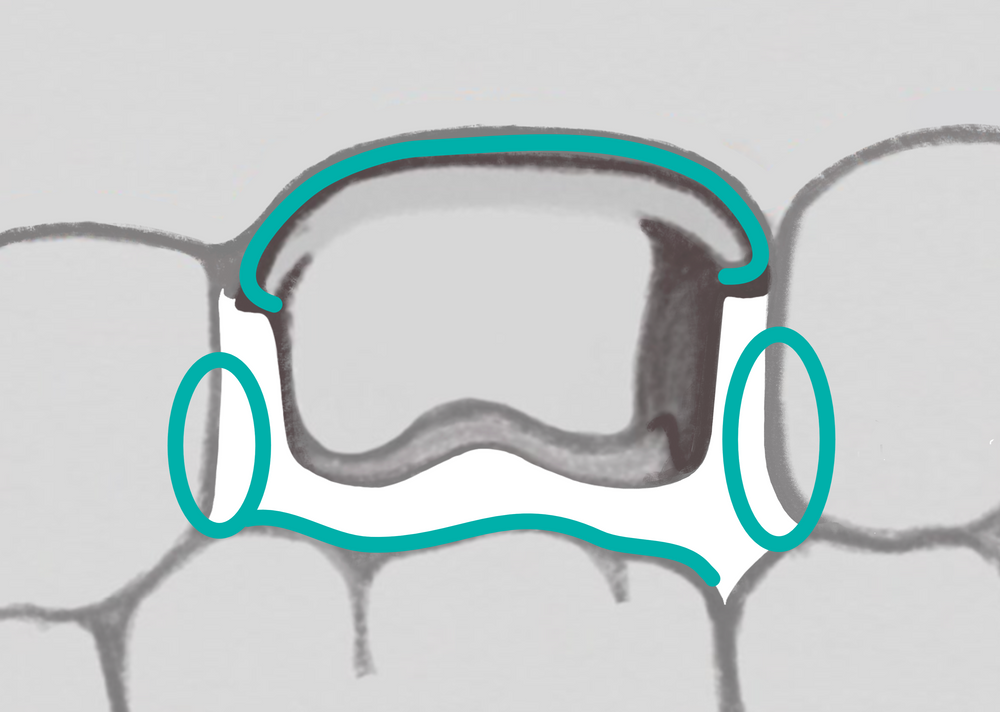
- Don't stress about non-critical embrasure spaces, non-critical lingual of the opposing, and data outside the gray box.
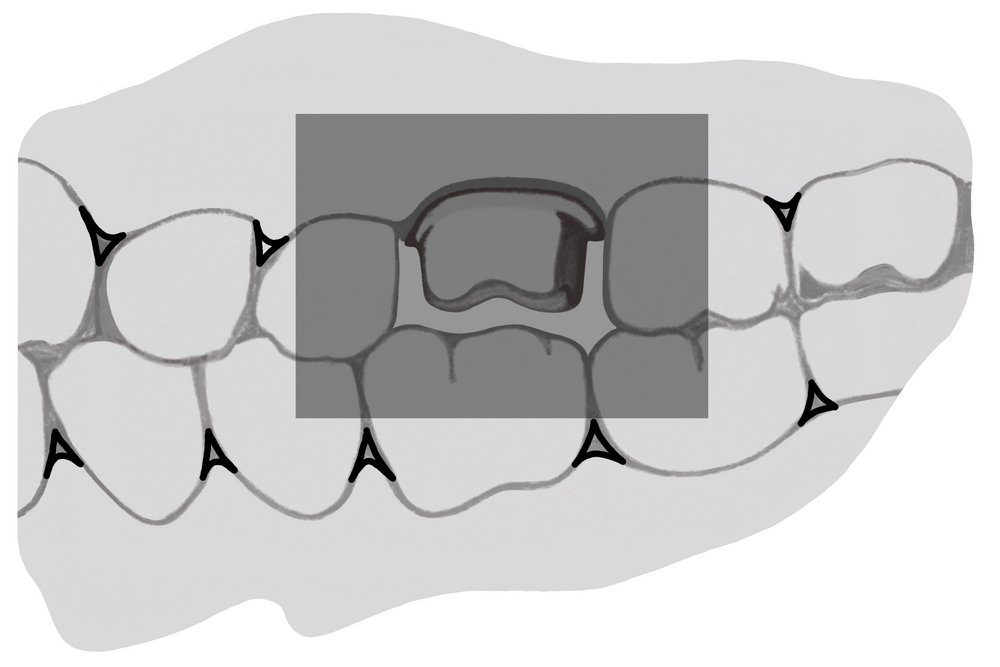
- Take a careful and complete bite scan and verify it after the case renders (see above).
- Take a full bite scan finishing the scan pattern rather than stopping early.
- For posterior units a quadrant scan including the canine works well.
-
8Evaluate the scans
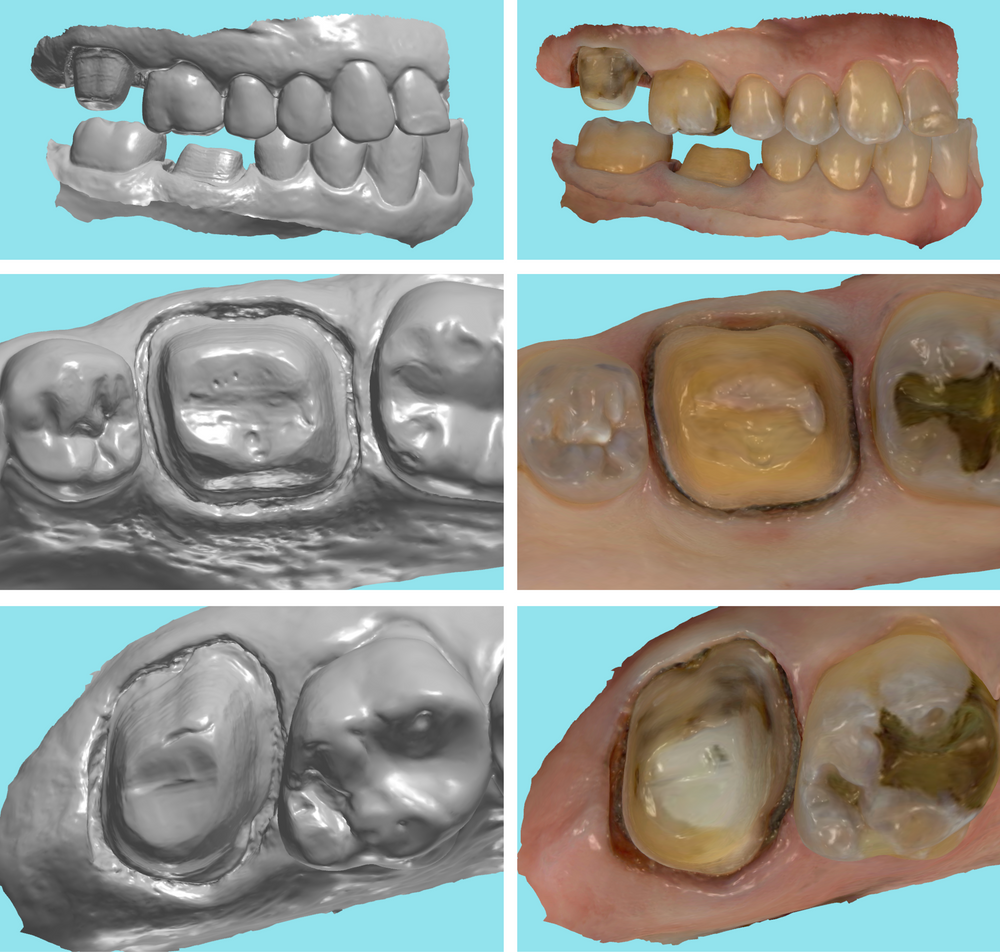
- Carefully evaluate each scan before submission, checking for clear margins, complete contacts, and correct occlusion.
- Switching between the monochrome and color settings can help display missing data or scan discrepancies.
-
9Send the case with complete information
- RX data with any notes for scheduling, design, or due date.
- See Sending the RX for more detailed information.
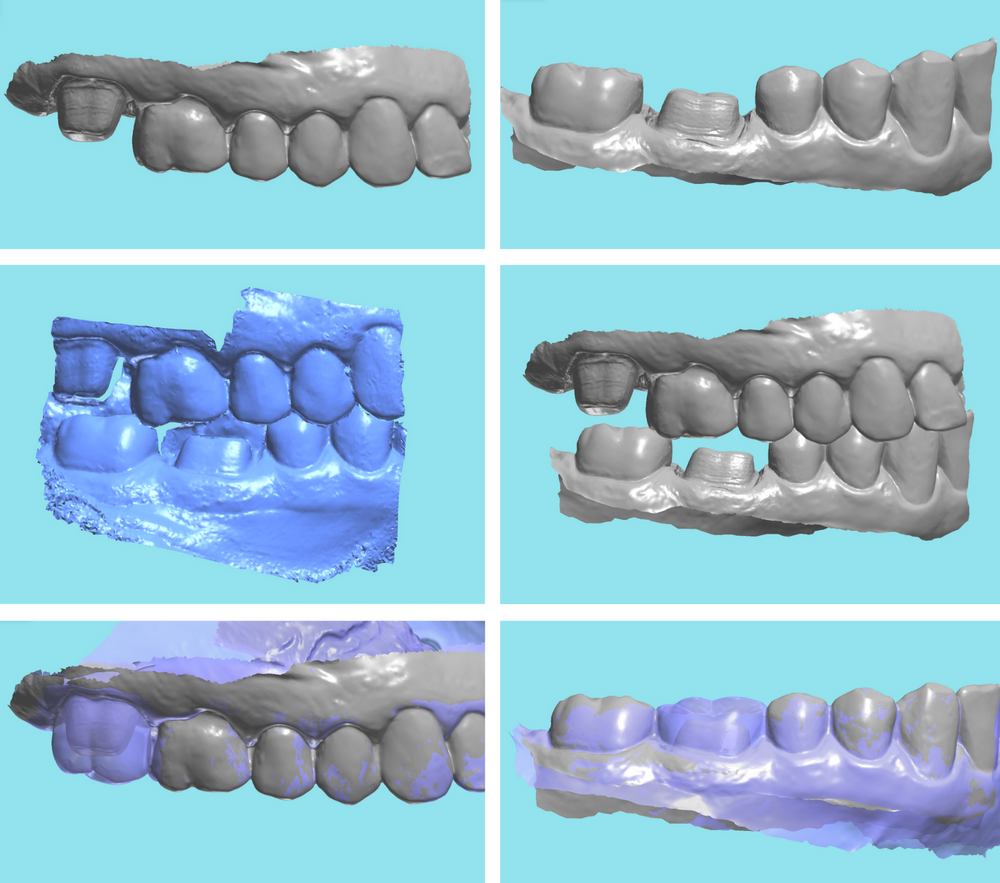
- Good upper, lower, bite, and, if needed, a preop or provisional scan.
- RX data with any notes for scheduling, design, or due date.
Did this answer your question?
If you still have a question, we’re here to help. Contact us

