Create A Calendar Event
Creating an event in the calendar and assigning things, like rooms, locations, contacts, and more, is simple!
With filters and views assigned, you can manage events from one source calendar, sharing just the right events across software platforms and keeping everyone in the loop.
To access the Calendar tool, click Calendar in the left navigation menu.
Pro-Tip: Before you create all your events, we suggest adding a few basic Calendar Settings, such as Event Properties (tags) to use as filters. For example, add "Public" and "Internal" to separate which events should appear to the public via your integrated Website or Mobile App. Learn more!
-
1Create an Event
To create an event, use the + Event button at the top right corner of the screen, as shown below.
Then, work from the top to the bottom and fill in the event details. Add information like the time, if the event repeats, description, rooms, etc.
Each room and detail added allows for increased ease in filtering and finding the event at a later time.
-
2Link a Form to an Event
Creating a link to a previously created Form is easy. Choose your form from the drop-down list provided.
Once the form is chosen, you can customize the button text to direct viewers to act on filling out the form.
-
3Event Properties and Other Details
The lower part of the event allows for filtering and resource reservations to be applied. Choose and define these parameters of the event based on what is needed from the church or external event location.
Contact Person vs. People
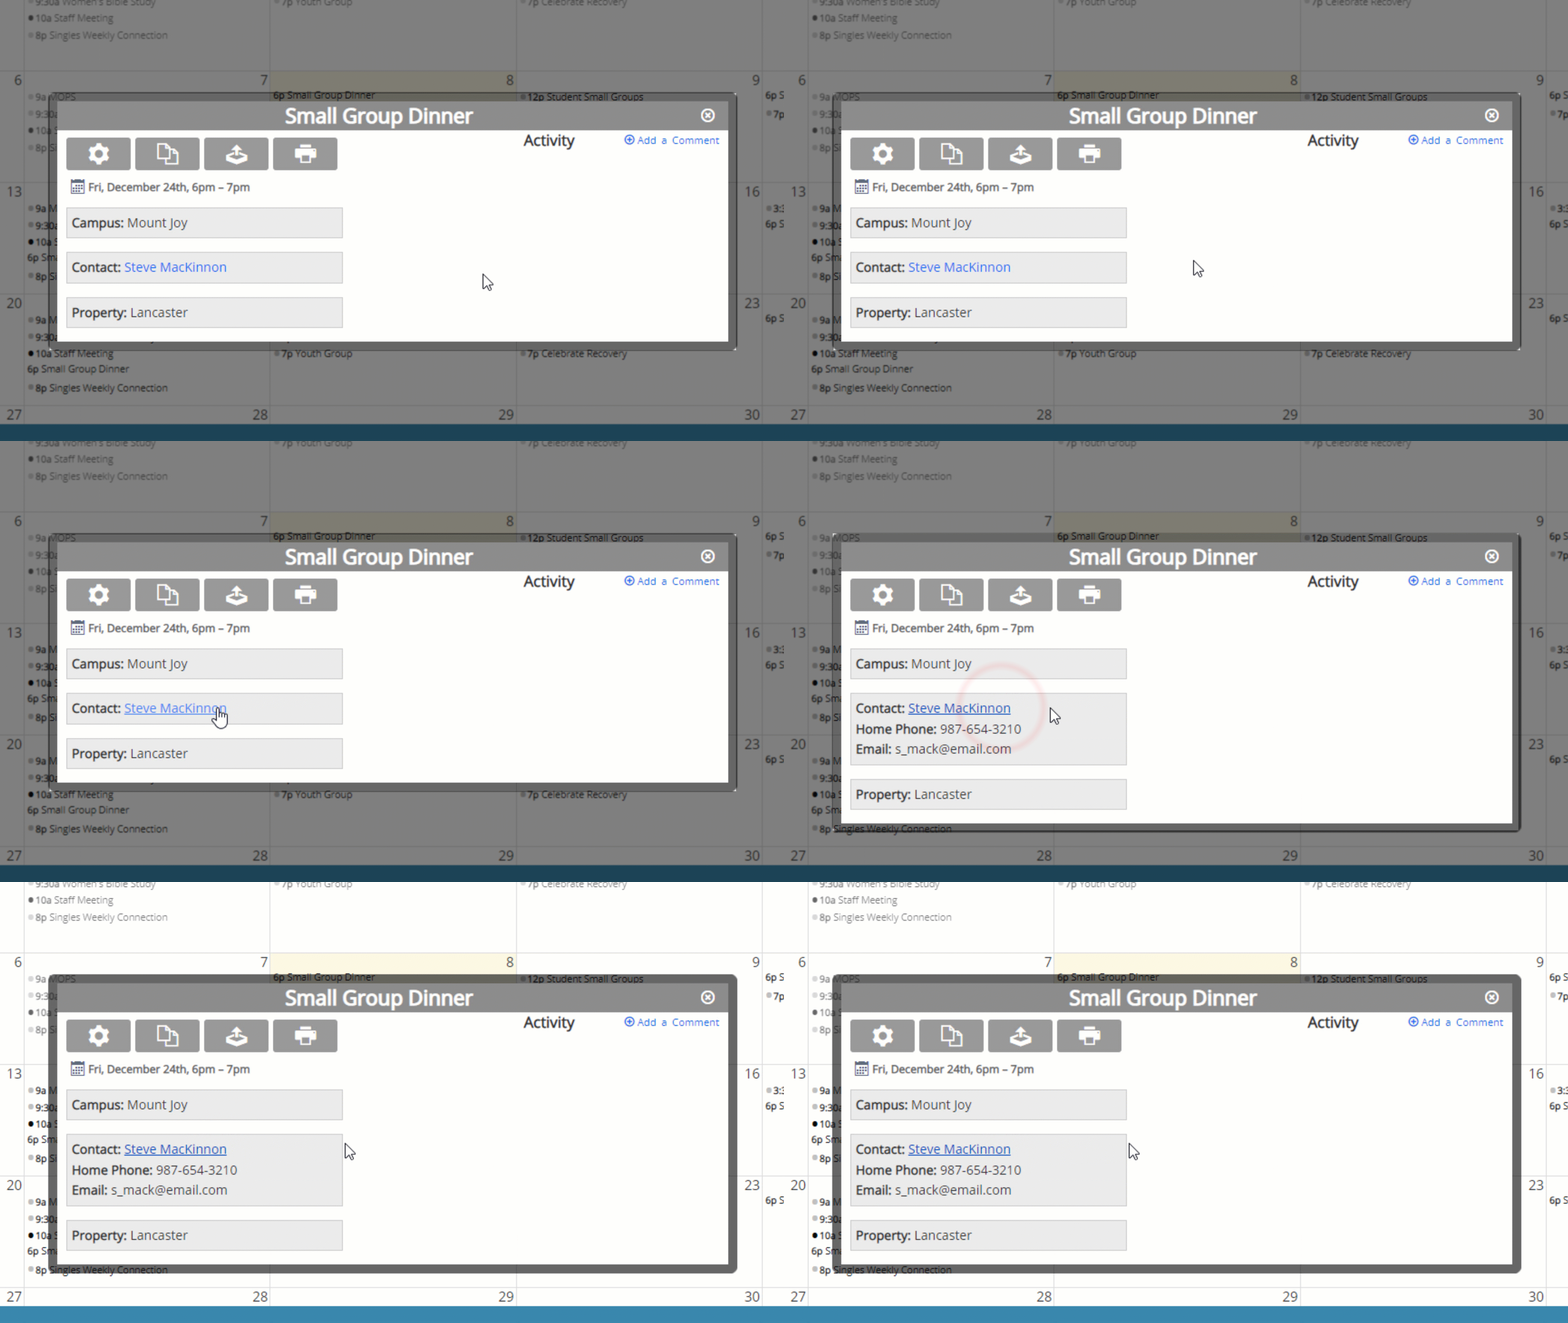
Contact Person → The best practice is to use this section to provide someone who is the head of this event. Provide a Contact Person and the system will pull their contact info and list it as an expandable link where users can get in touch should they have questions or concerns about the event.
People → The 'People' option is primarily used for filtering and reference purposes. A use case scenario would be to include a Pastor/Leader in events that they are involved in, filtering the calendar view to only show those events, and then to save that calendar view as that individual's own personal calendar view.
Properties Field Tip → HOLD and use the CTRL on Windows or the CMD (Command) key on Mac to select many individual properties. To select many in a row, select the first in the series and then HOLD the SHIFT key and select the last item in the series.To complete the process and add the event to the calendar, use the Save or Save & Continue button.
- SAVE → save this event and its details and close the event creation tool.
- SAVE & CONTINUE → save the event and its details, then create another event.


