Media Room, Recording a Video
-
1Step-by-Step Video
-
2Step by Step Break DownGet the iPad it will act as your teleprompter. To login to it use the code 574200
-
3Use the app Prompt Smart

-
4Is Prompt Smart still logged in?
-
5Login to Prompt SmartHit the option icon
-
6Input Login informationLogin: smock@chpc.org
password: ChpcMovie$5742 -
7Upload your Script/PromptEmail yourself your script.
Then log in to your email on the iPad and download the script to the iPad. -
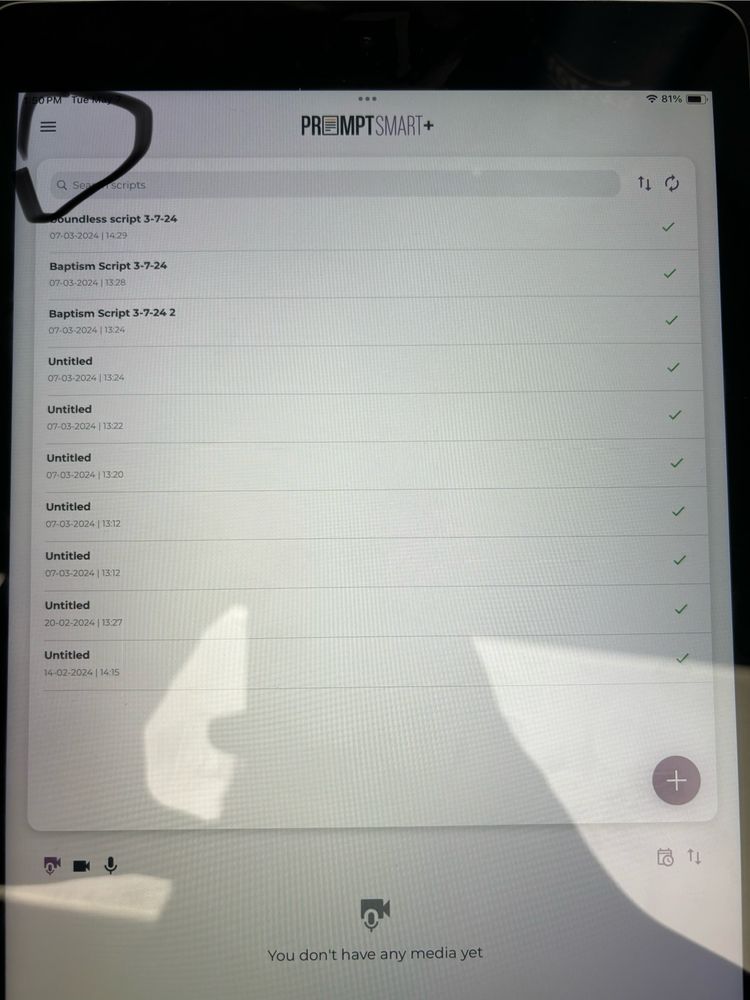
8Import the Script to Prompt Smart PlusPress the Purple plus sign

-
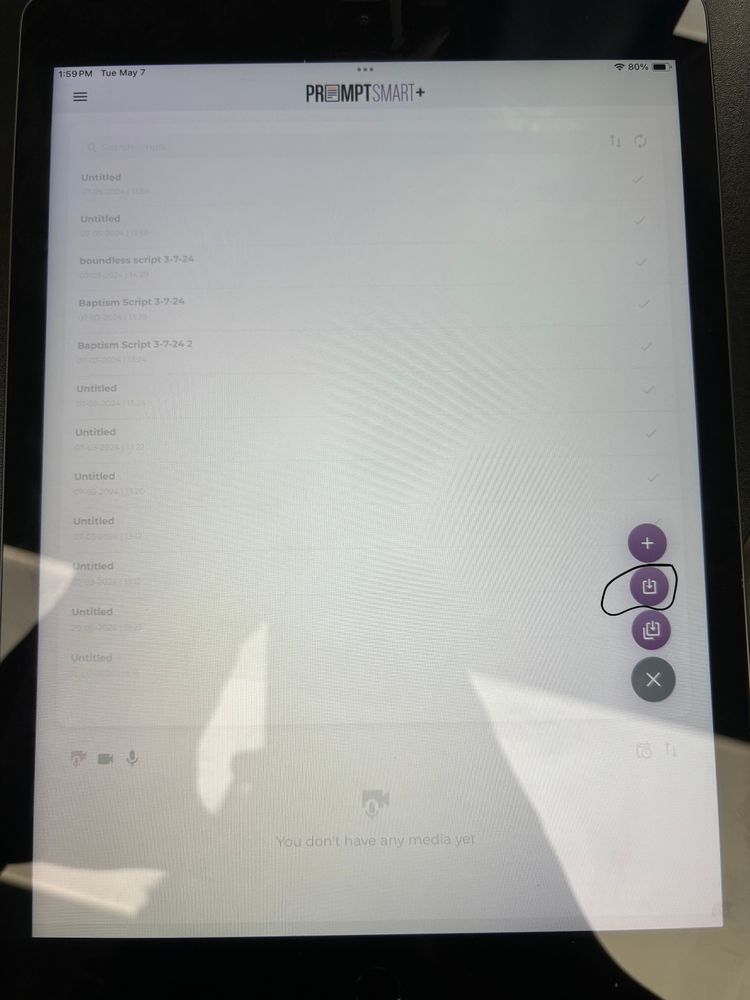
9Push the purple download Button below the plus sign
-
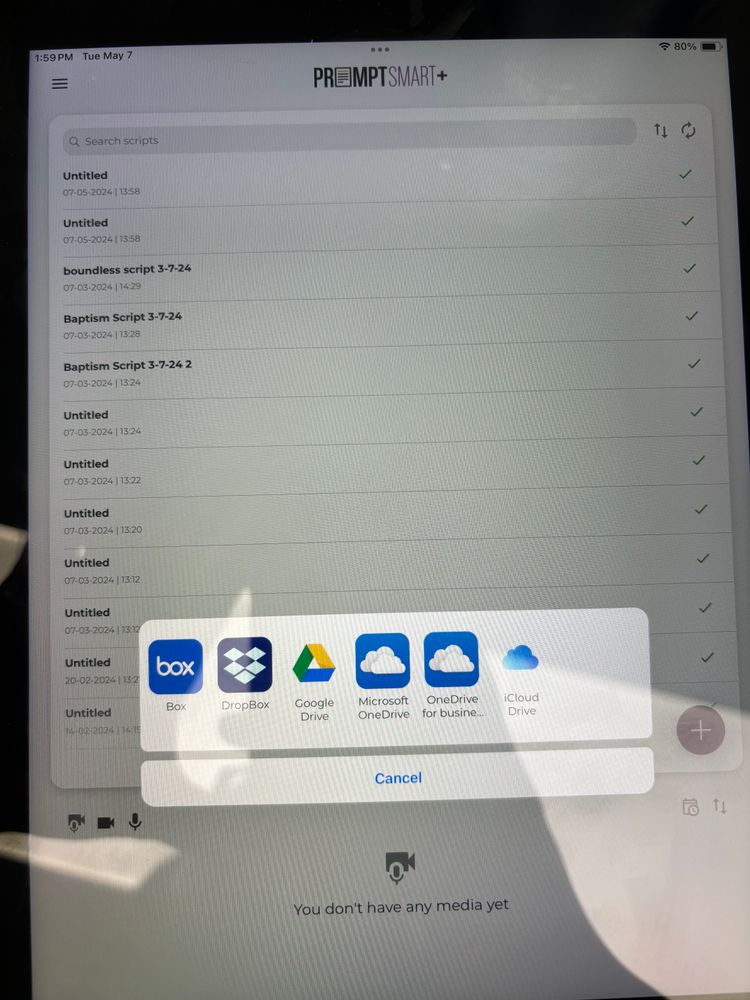
10Download your Prompt from iCloud
-
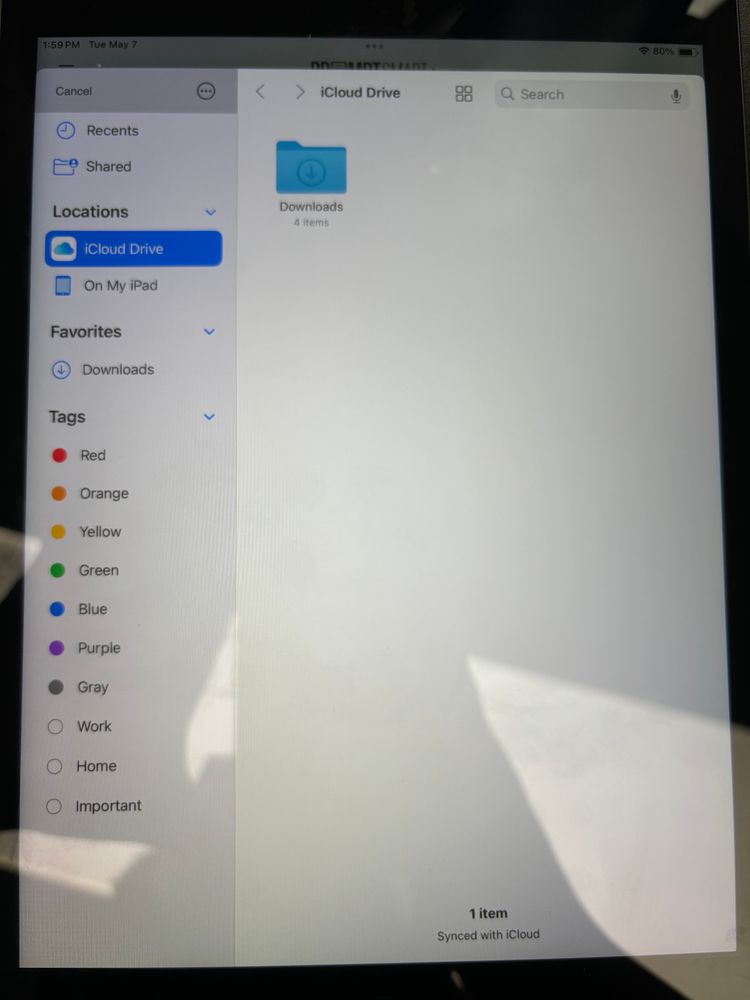
11Click Downloads FolderInside the downloads folder, you should find your prompt.
-
12Lock the iPad into place using the knobs on the side of the slider. (Ensure it is very secure)
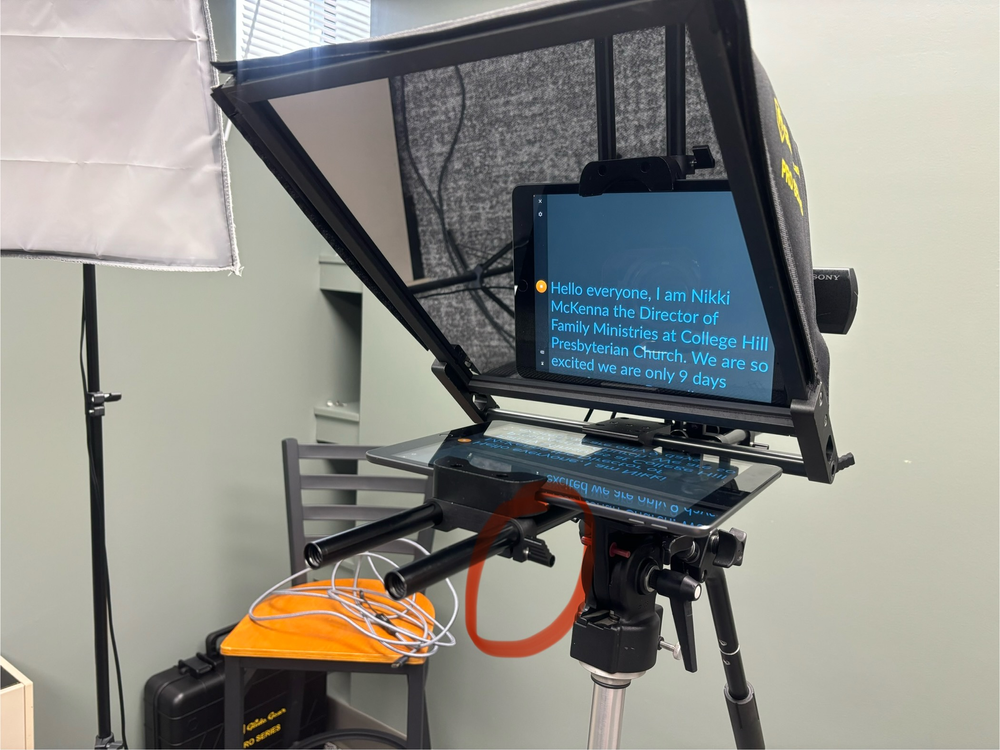
For the teleprompter to work well you need to turn the lights off in the room and use the lights to the left and right of the camera they have a simple switch that you push to turn them on and off. -
13Plug the power cord into this slot
 .
.
-
14Plug the HDMI into the camera
 This is how you will get the video to your laptop.
-
15Plug the other end of the HDMI into the converter and plug that into your computer
The HDMI may already be in the converter. Also, a fair warning is the converter will flip your video.
Also this converter has both USB 3 and under it Thunderbolt connection. -
16It's time to set up your mics
Plug the Aux cord into the red jack on the camera the flap should read MIC. (do not put it in the headphone jack, if you do, it won't pick up your audio)
Then, plug the other end of the aux cord into the mic receiver (it has a miniature screen on it to help differentiate it from the mics)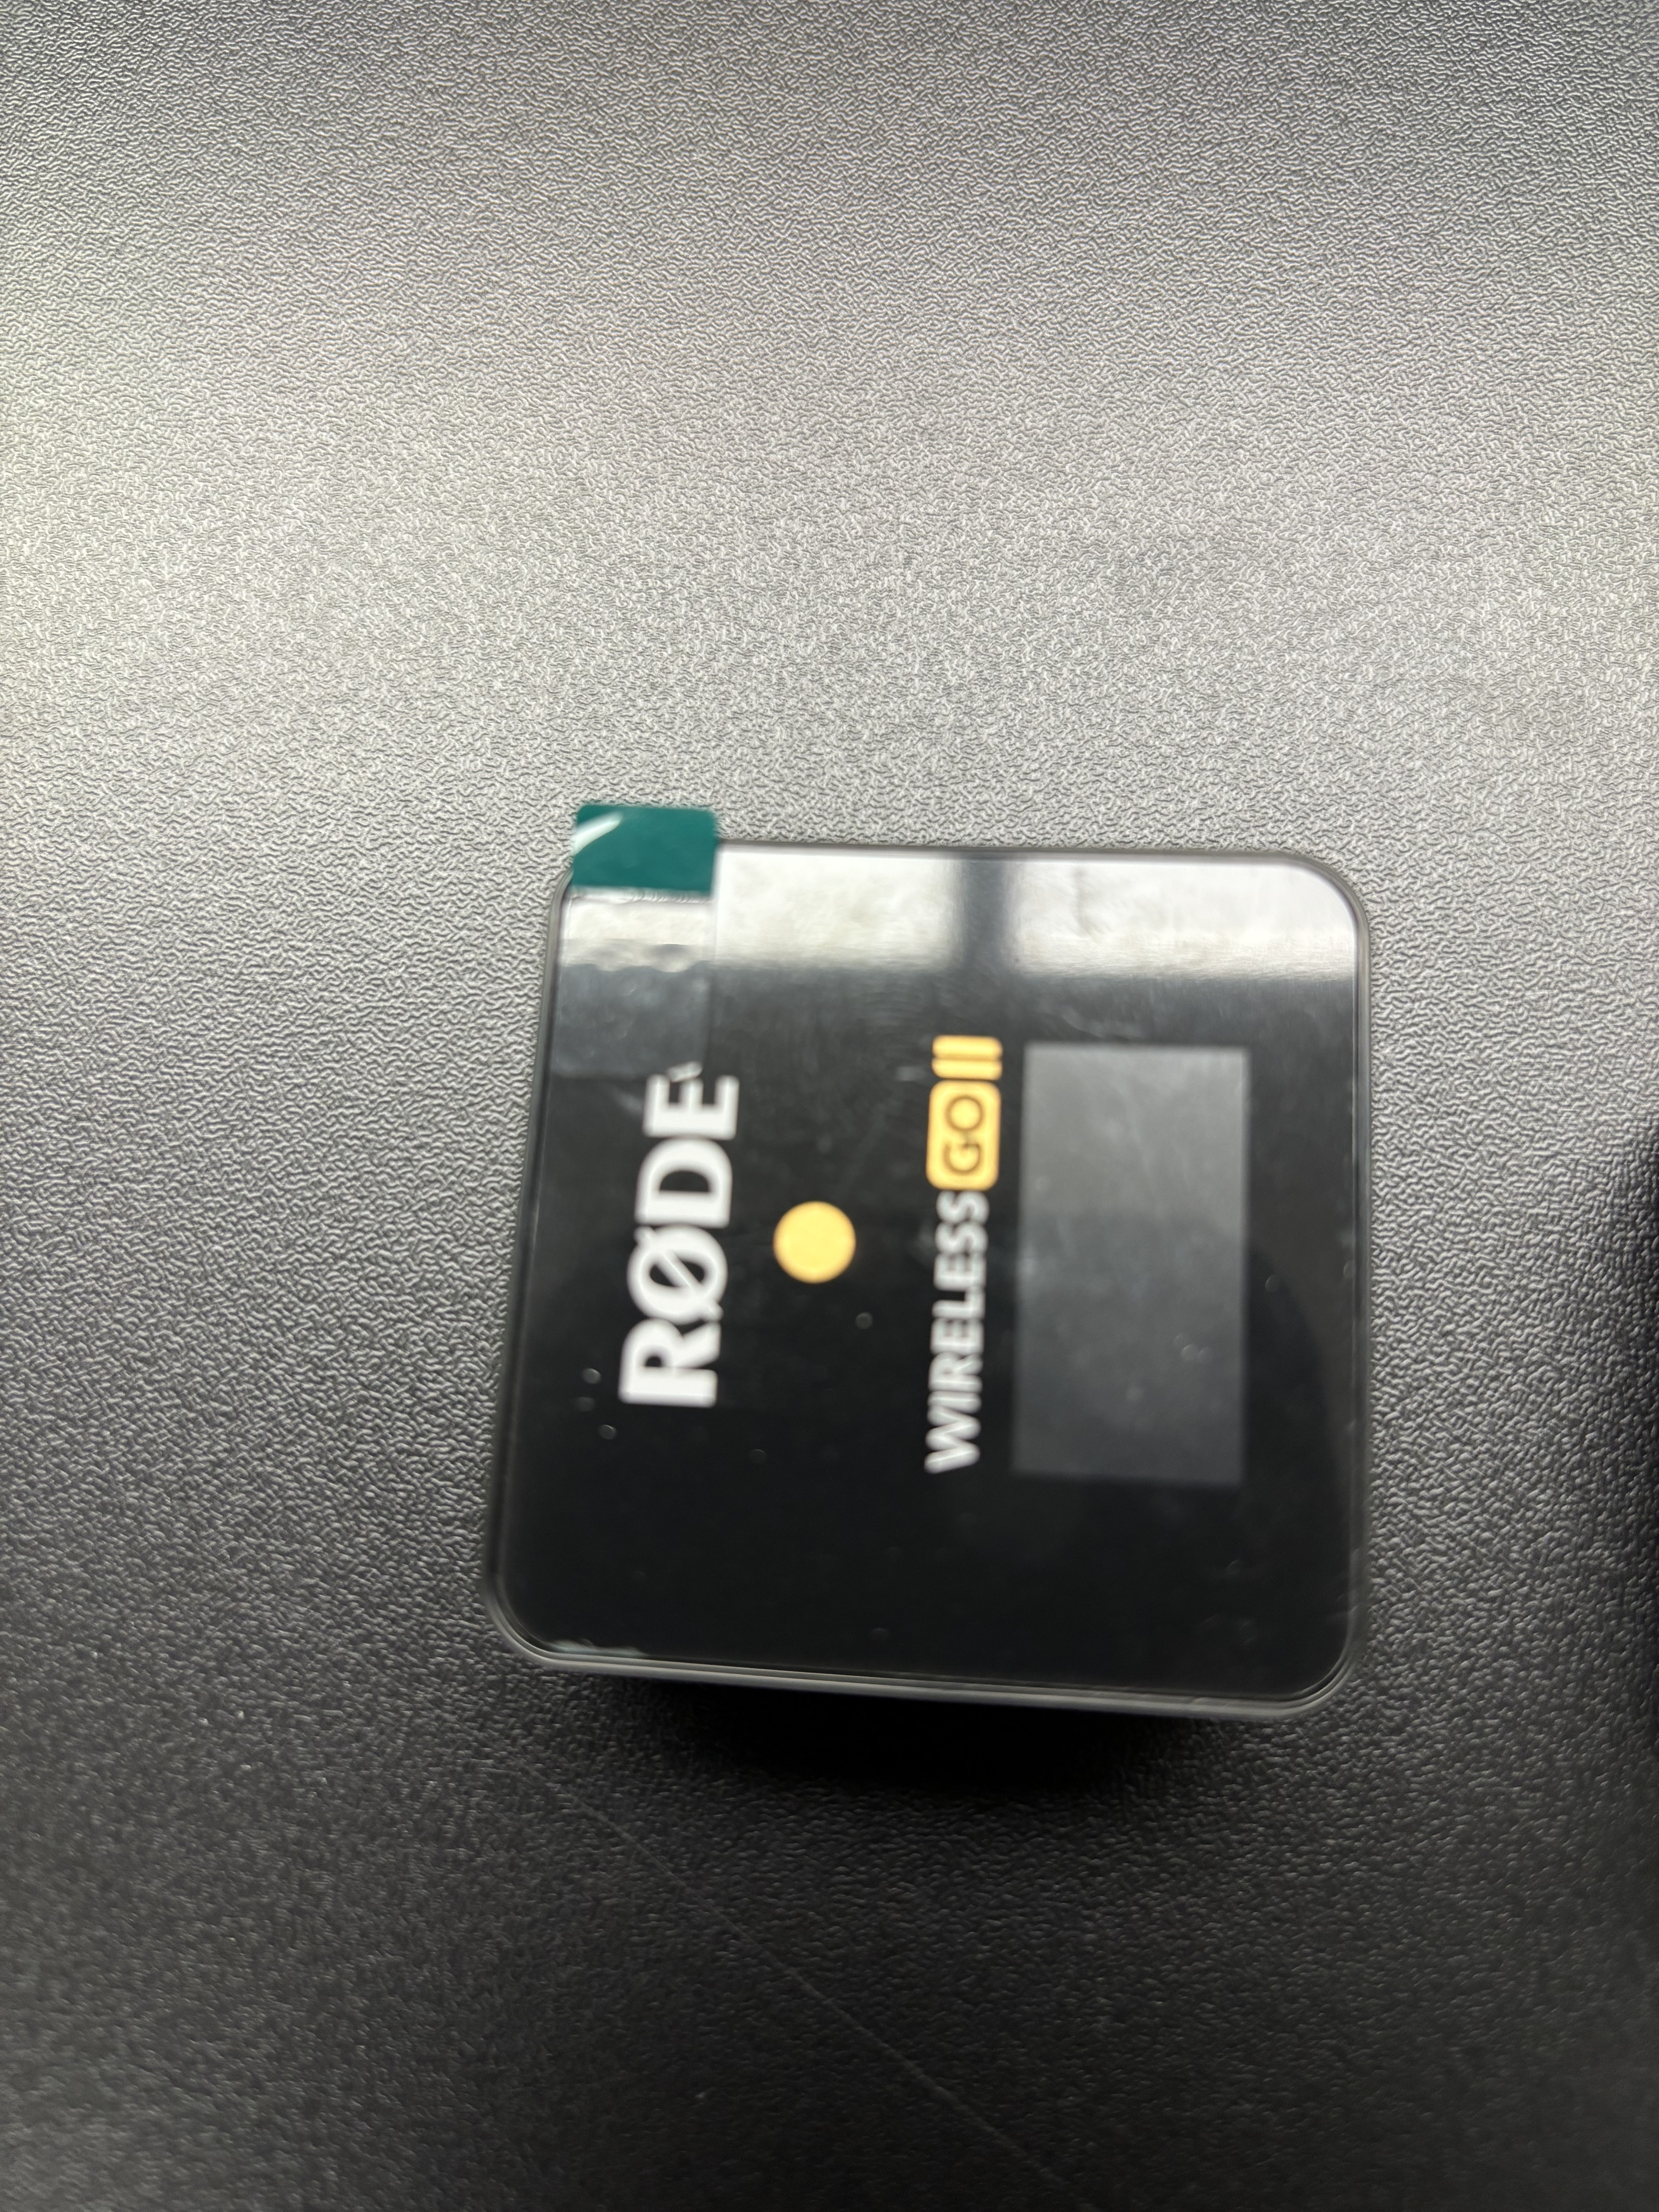
-
17Turn the receiver on by holding down the button shown in the photo; do the same for any mic you plan to use.
 You will know the receiver is on when the screen lights up. You will see the green light on the mic and a moving bar on the receiver screen showing that the mic is picking up sound.
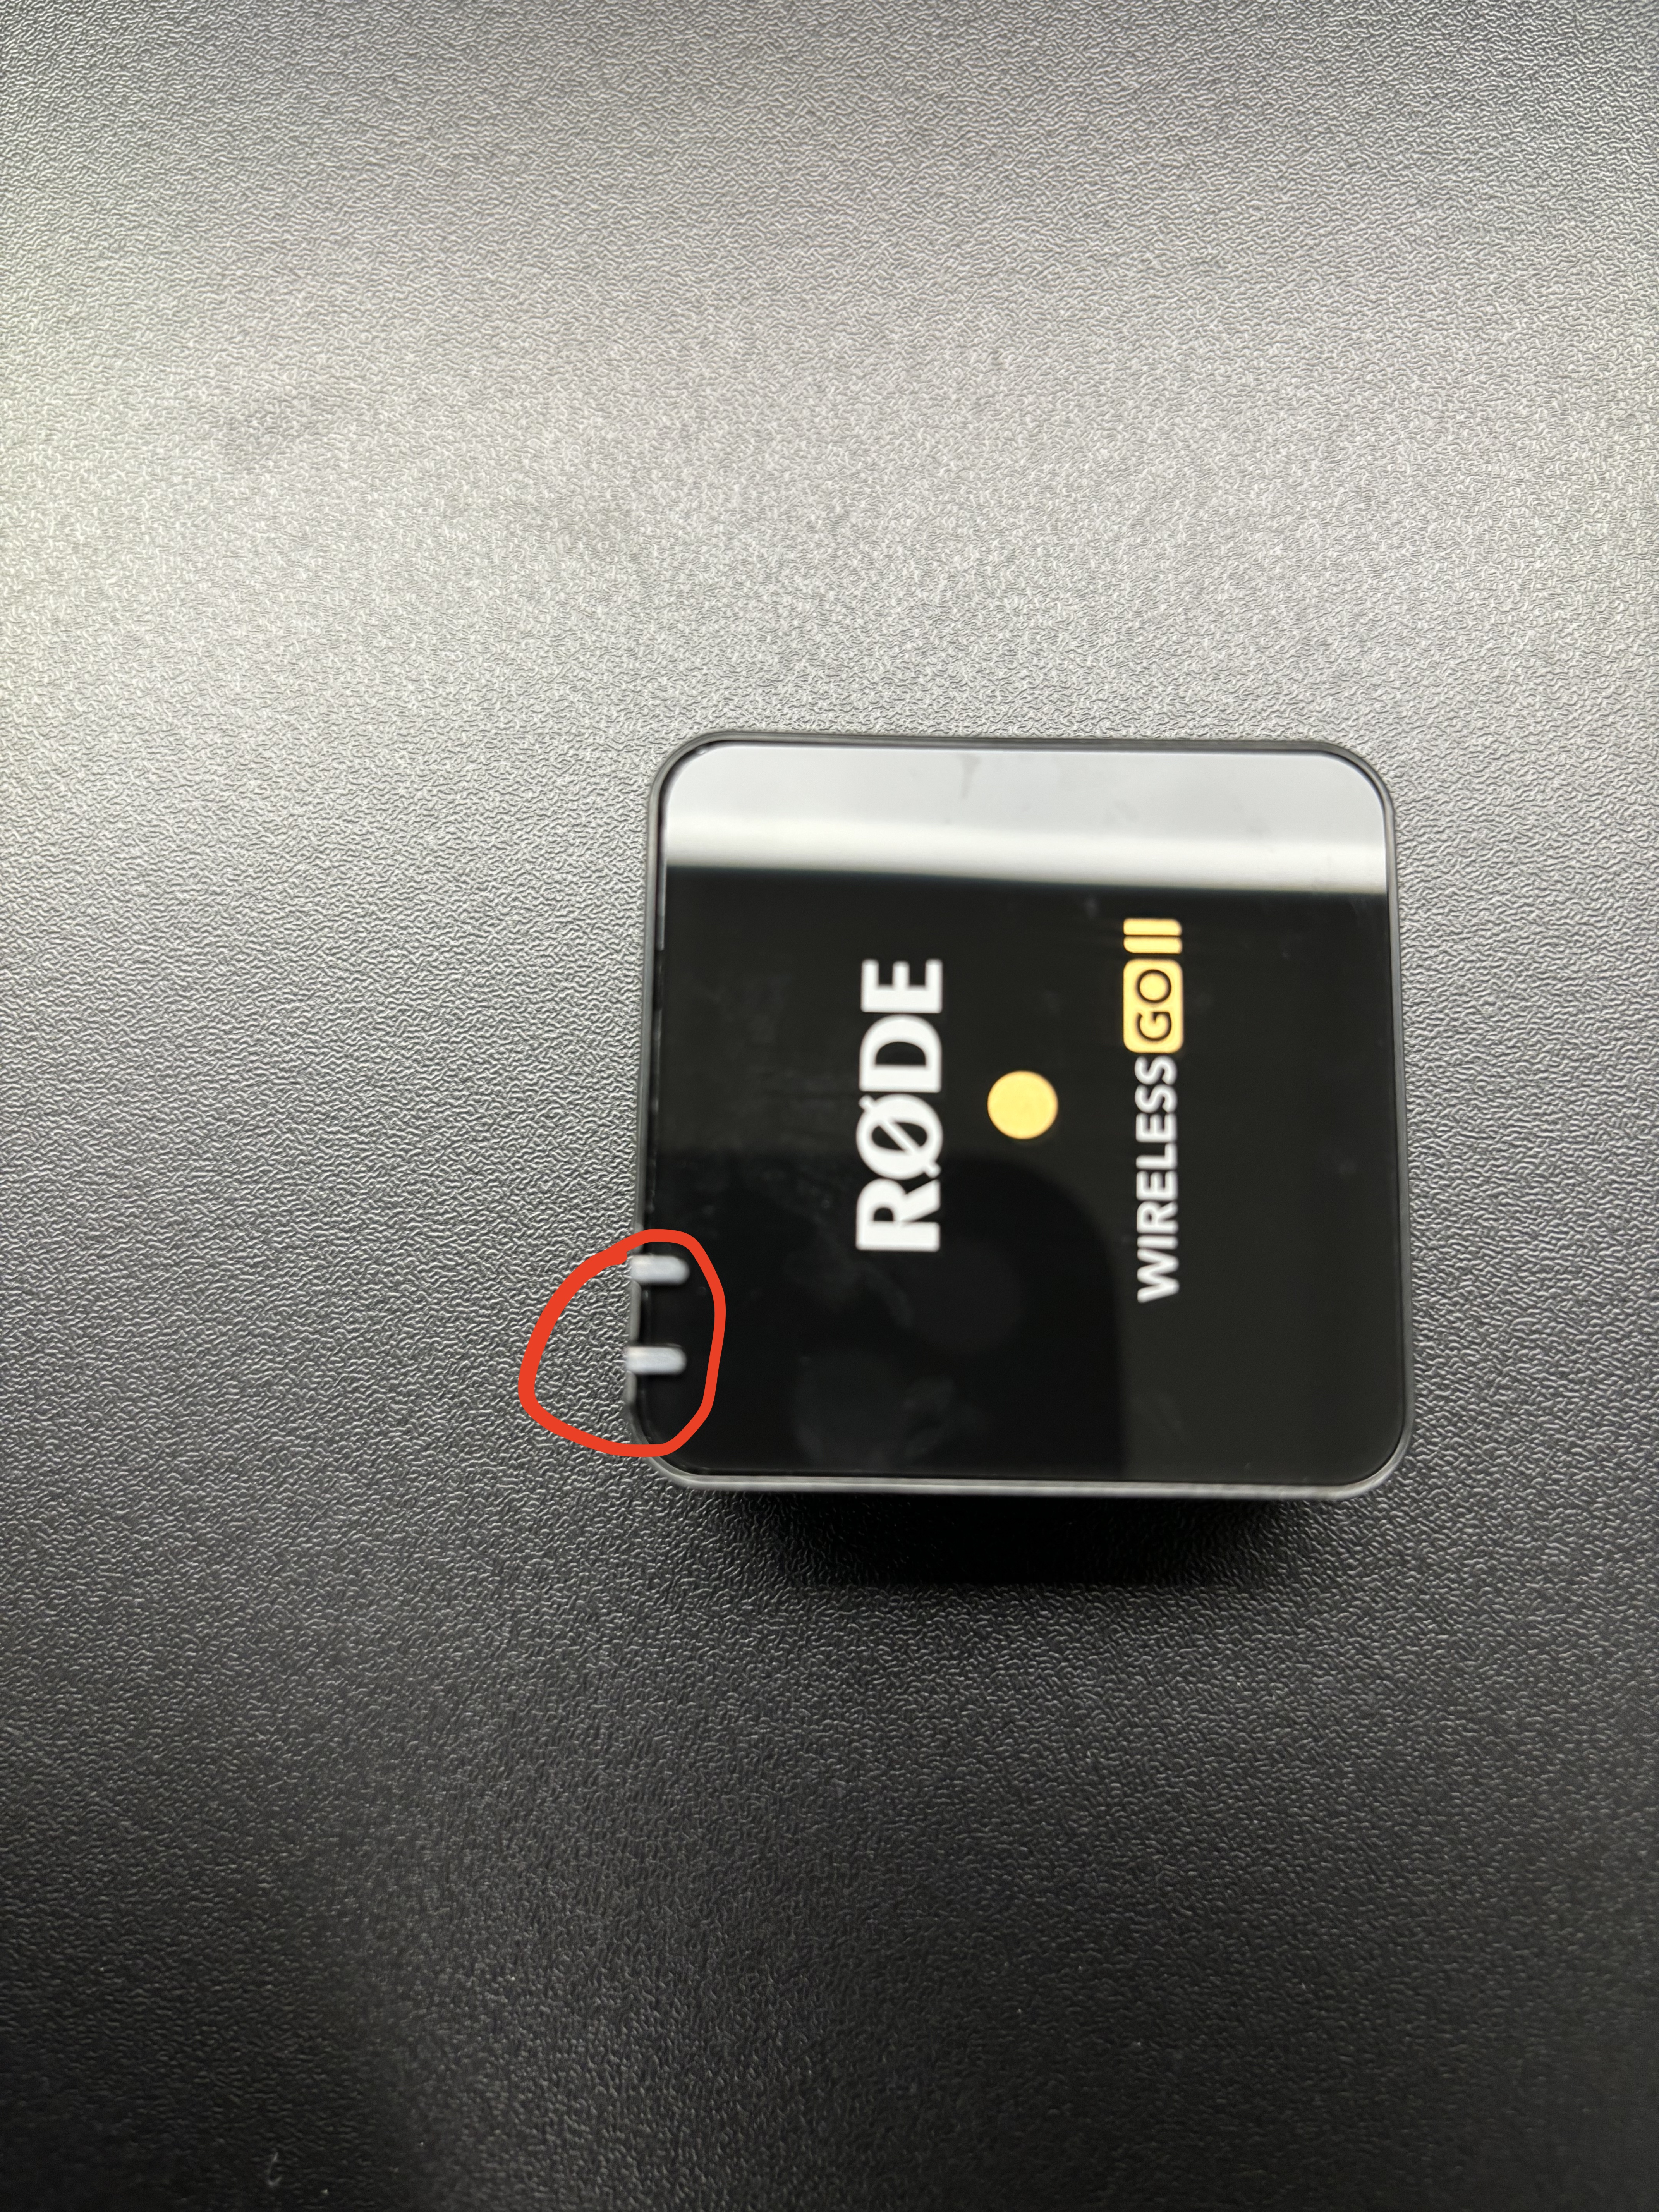 One light has a link icon beside it, showing its linked to the receiver and another light showing it is on.
-
18Buttons explained on Mic
 The left button can mute your mic or even increase its volume. The right button connects the mic to the receiver, although they should already be paired.
Here's a video on the Rode Mics for more details than you'll ever need. It has sections and titles to find what you are looking for easily.
youtu.be/Ewl-_rzIehk?si=Zh0iViL6mV-5nv... -
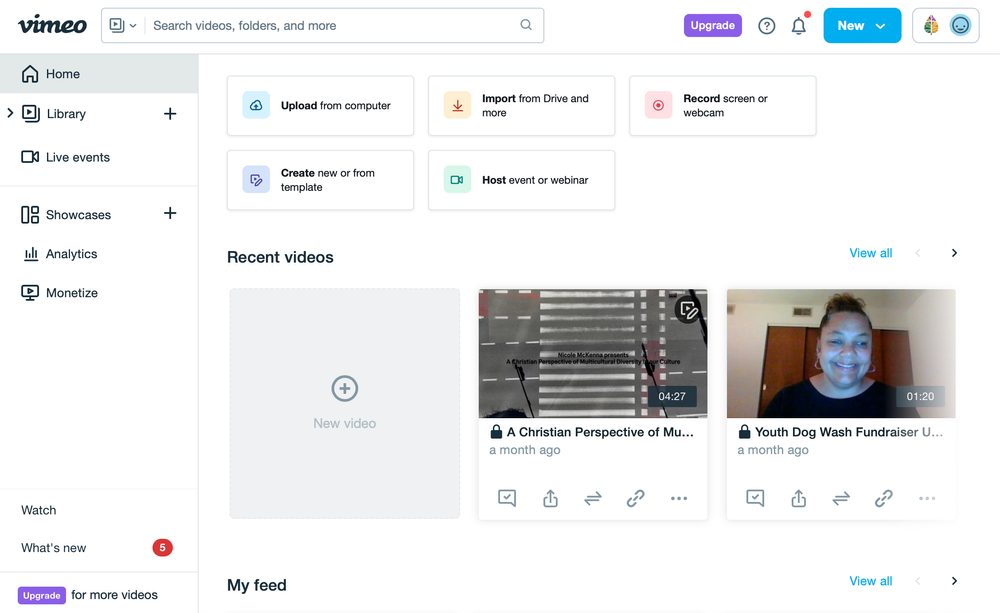
19Open Vimeo and loggin. Then click the blue new button in the top right. Finally click record.
-
20Choose your video and audio input
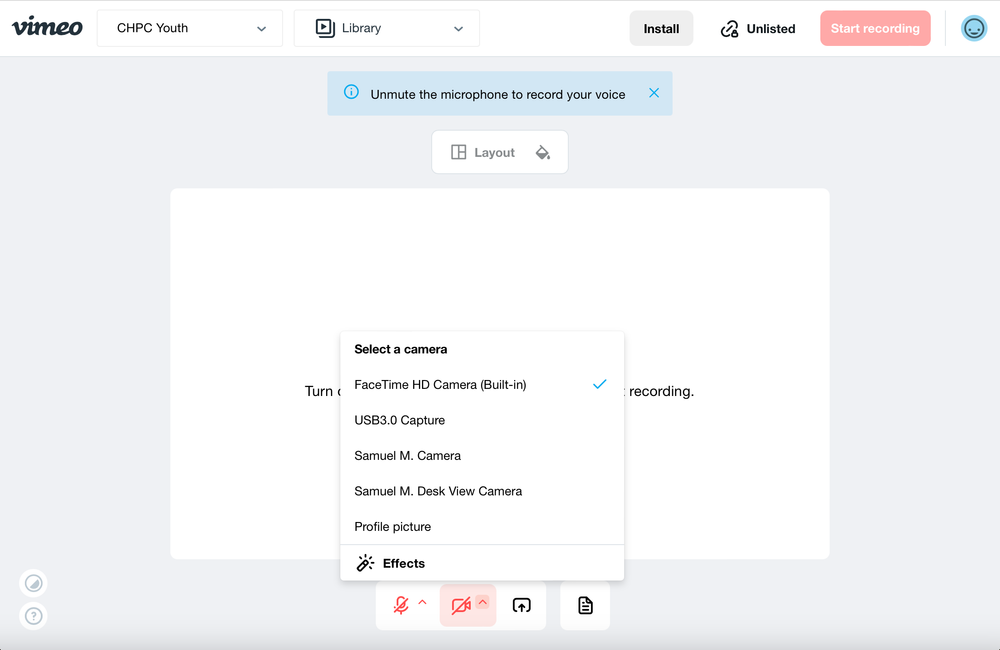
Click the up arrow and select USB 3.0 Capture for Camera and Mic. -
21Camera SettingsThese settings should already be set up but if you need to edit them this is how:1. Press the menu button
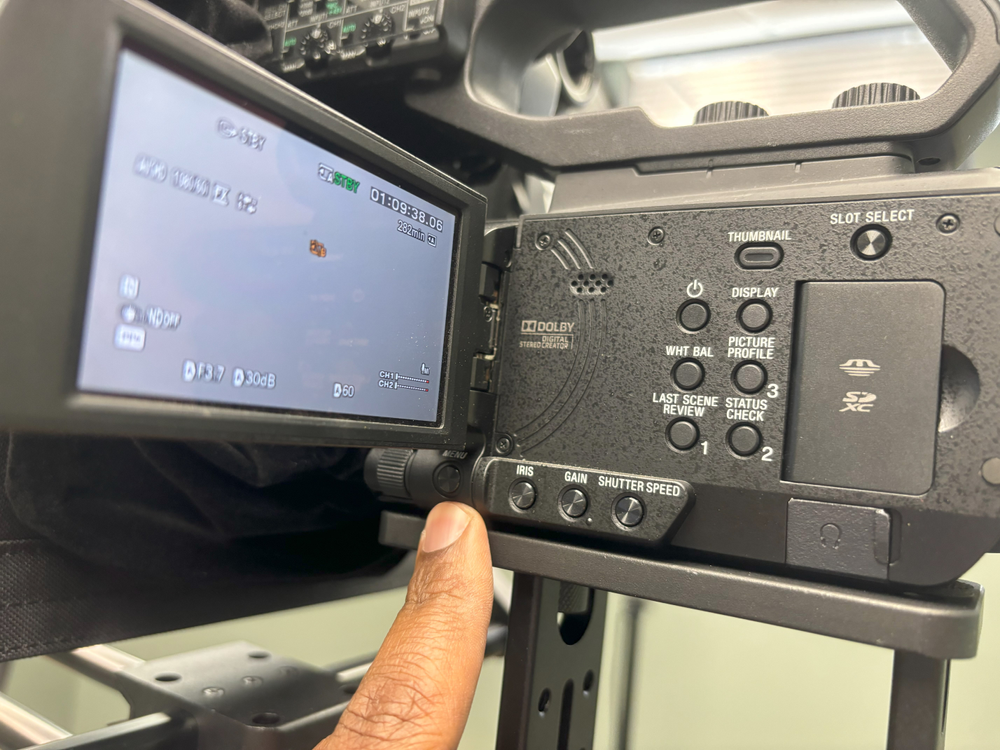 2. Use the toggle to move through the menu
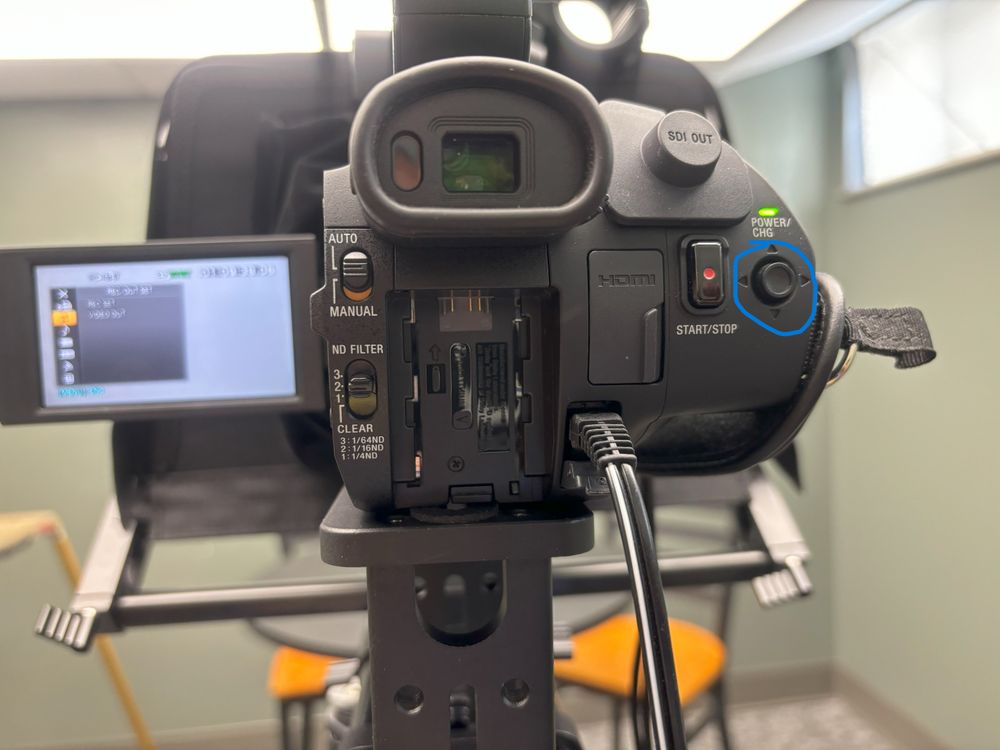
-
22Video Settings1. Scroll down to Video Out
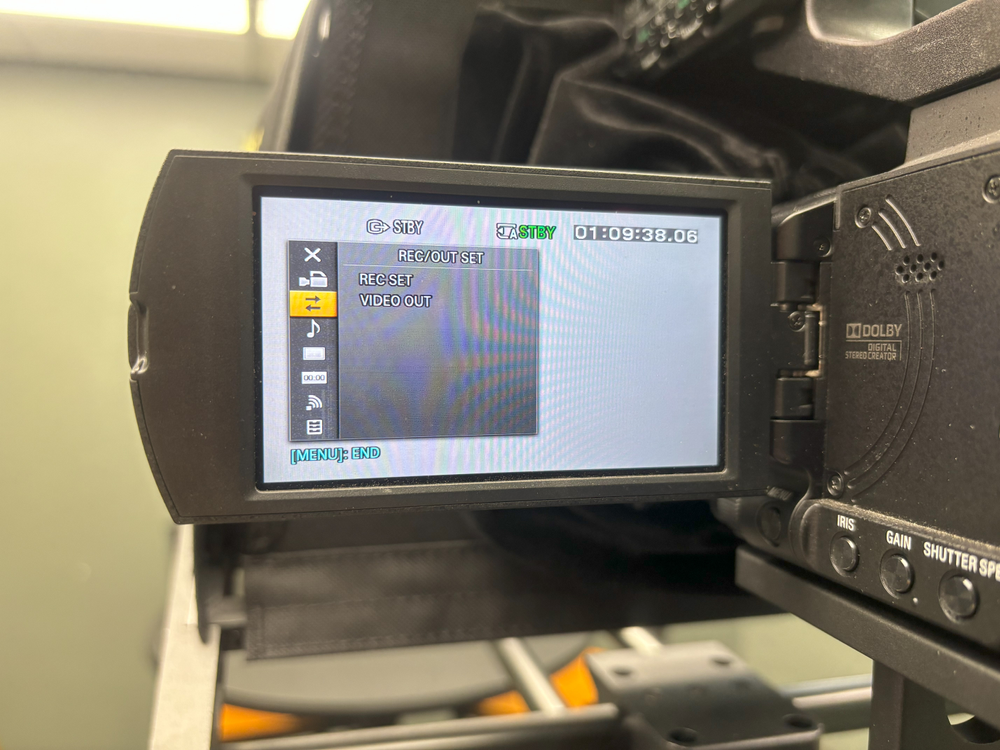
2. Push to the toggle to the right to select Video Out.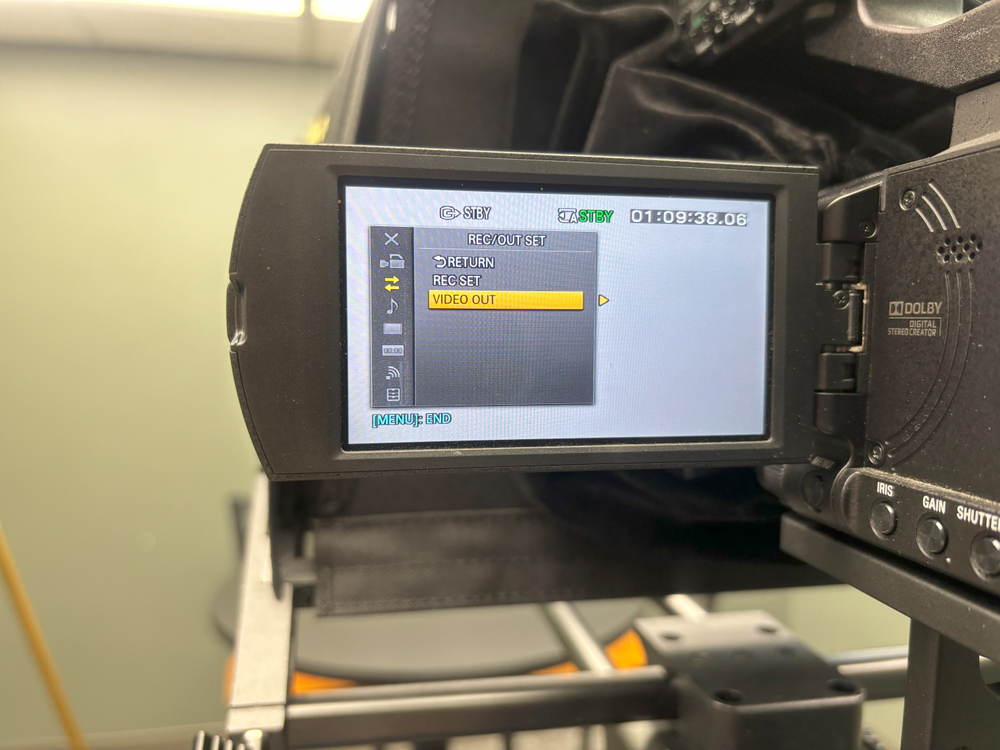
3. Press the toggle down to select video out.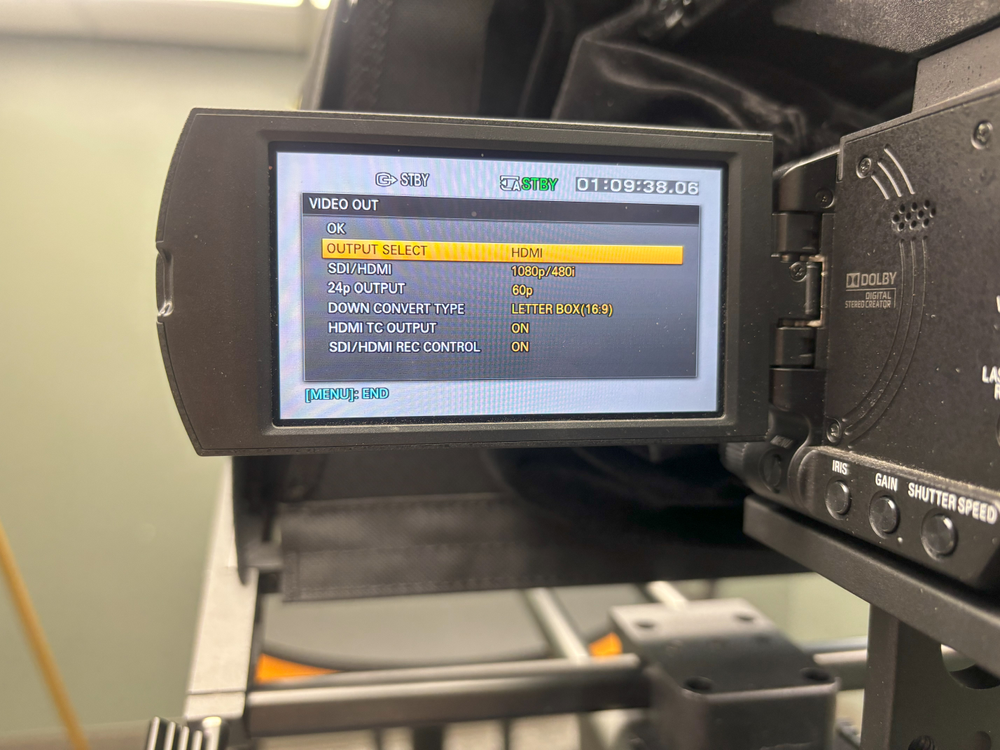
The video out should read HDMI. If it does not press down on the toggle and select HDMI -
23Audio SettingsToggle down to the music note and you will see this screen allowing you to edit audio.
 From there click to the right then down to Mic Select
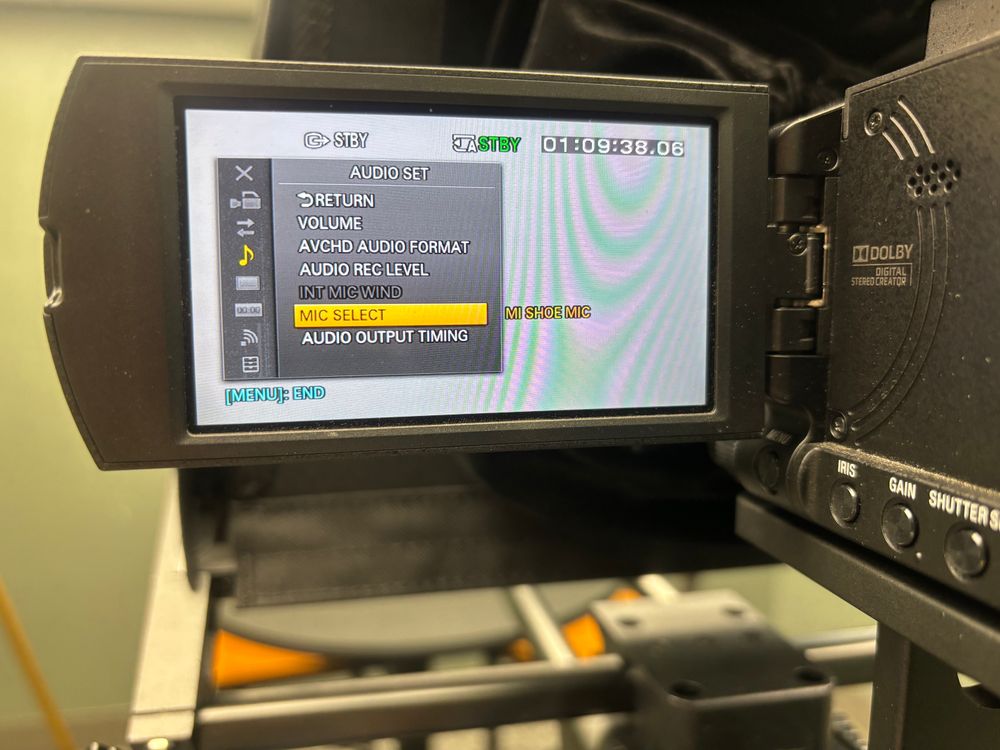
Finally select Stereo Mini Mic, this allows your microphones to work with the camera.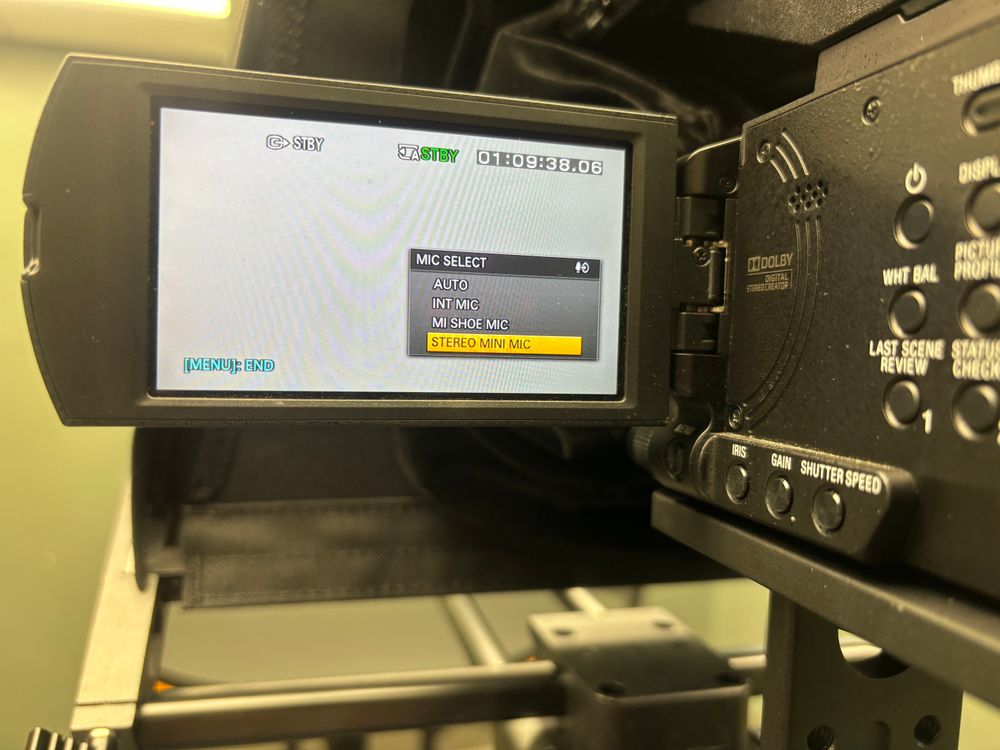
-
24Record your video on Vimeo
 click start recording. (Big red button in the top right)
- You will need to hit this button again when you are finished recording. -
25As a backup, also record by hitting this button
You will need to hit this button again when you are finished recording.
Did this answer your question?
If you still have a question, we’re here to help. Contact us