Setting up Check-In Station 1
These are instructions and troubleshooting directions for the kiosk check-in system for Sunday morning. There is a sequence to starting up the ipads so that the printers are attached properly. Be sure to set up Check-In Station 1 BEFORE setting up Check-In Station 2.
-
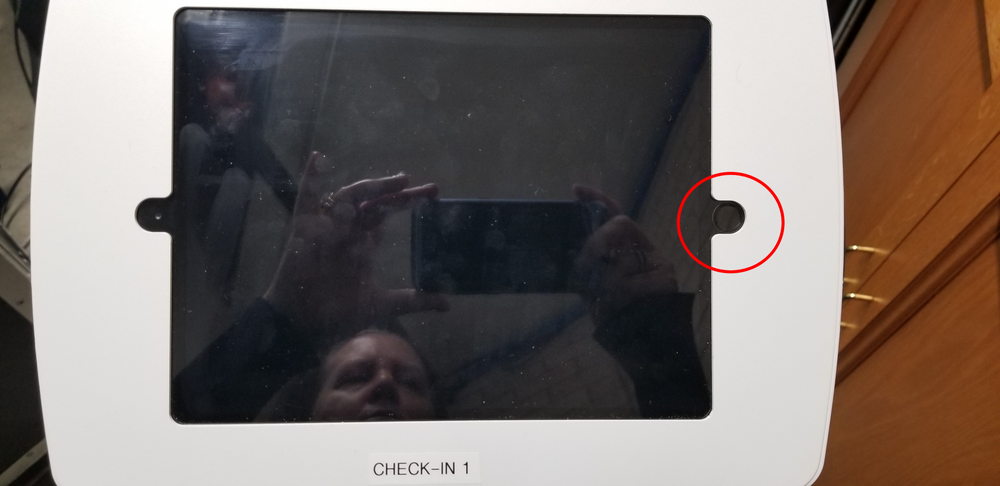
1Open IPad
-
2Enter Passcode - 5742
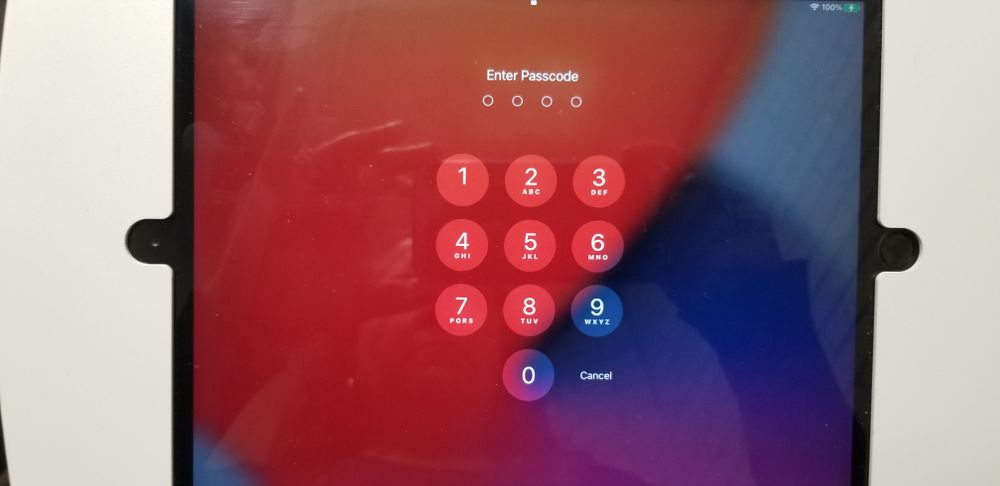 Unlock screen code is 5742
-
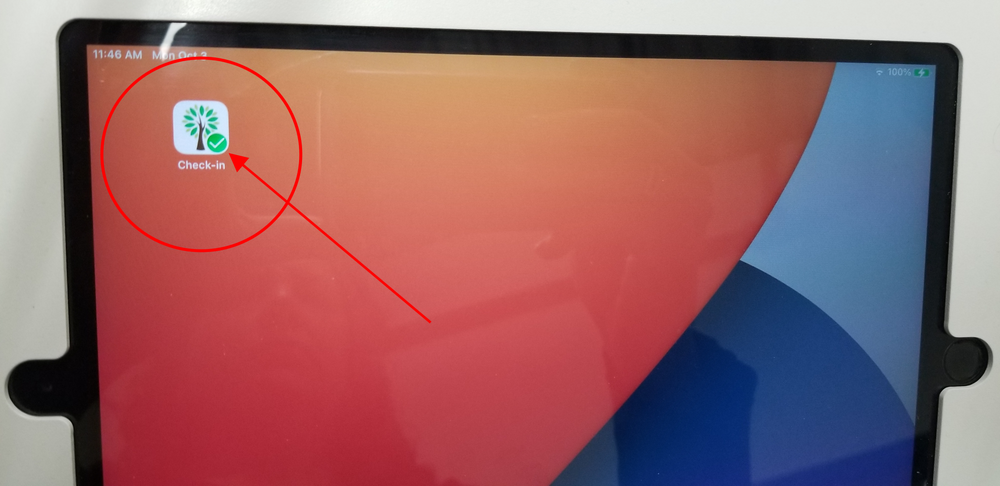
3Open Check-In App on IPadTap on Check-In Icon
-
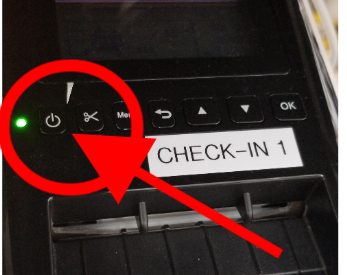
4Turn on Label MakerTurn on power to label maker. Label maker is located on the shelf below the ipad.
-
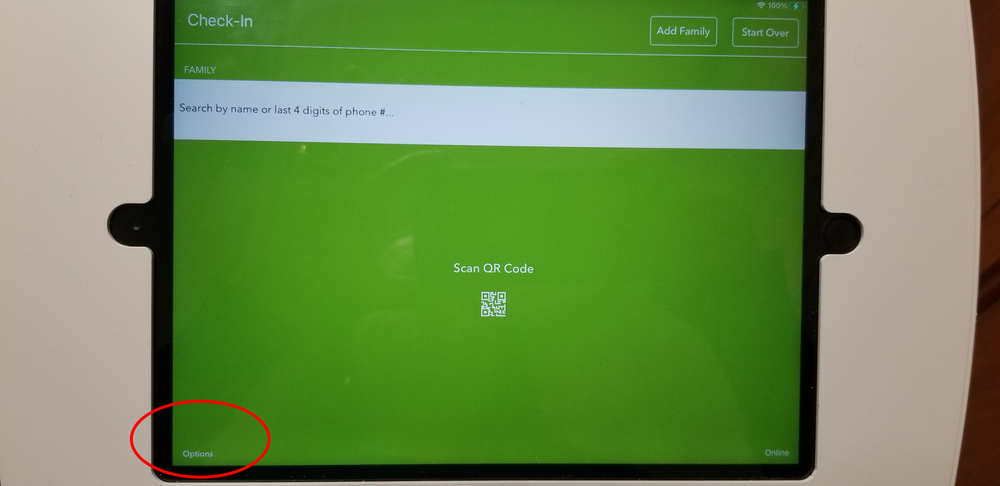
5Select Options in bottom left corner
-
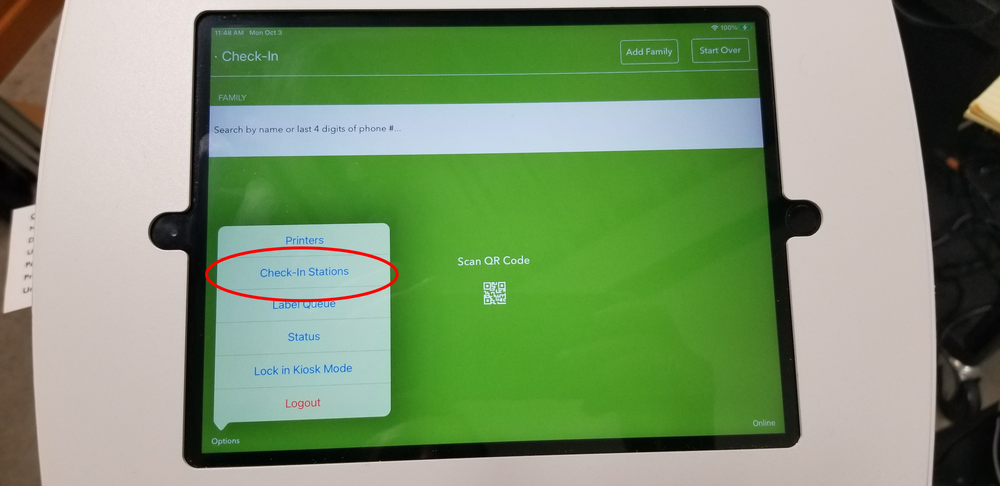
6Select Check-In Station
-
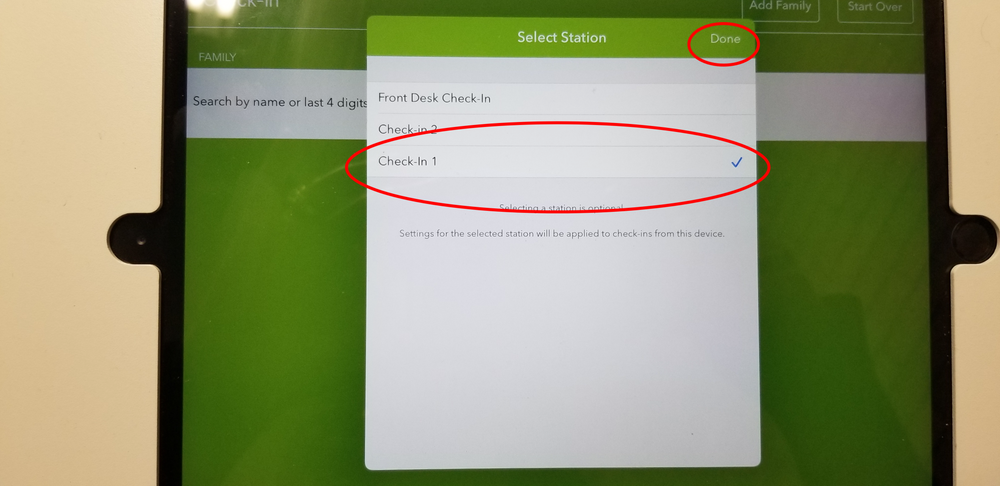
7Select Check-In Station 1 and Done
-
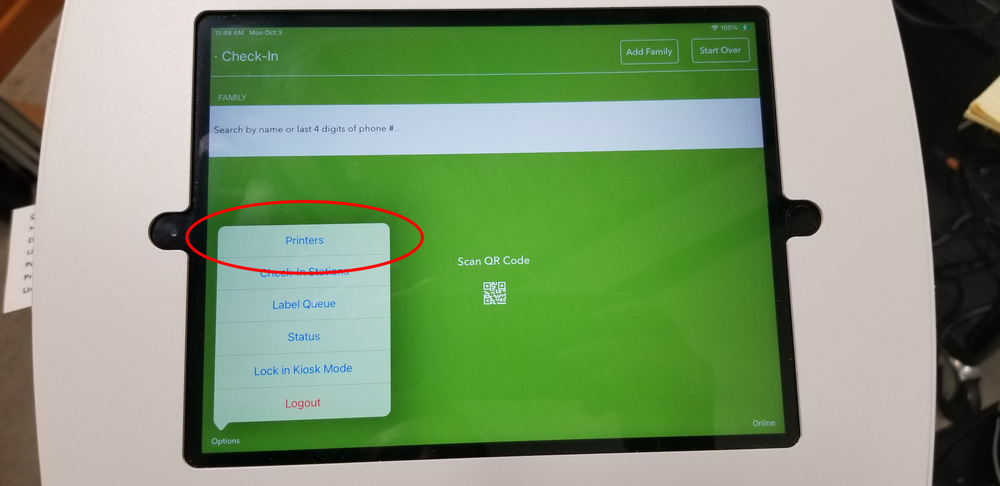
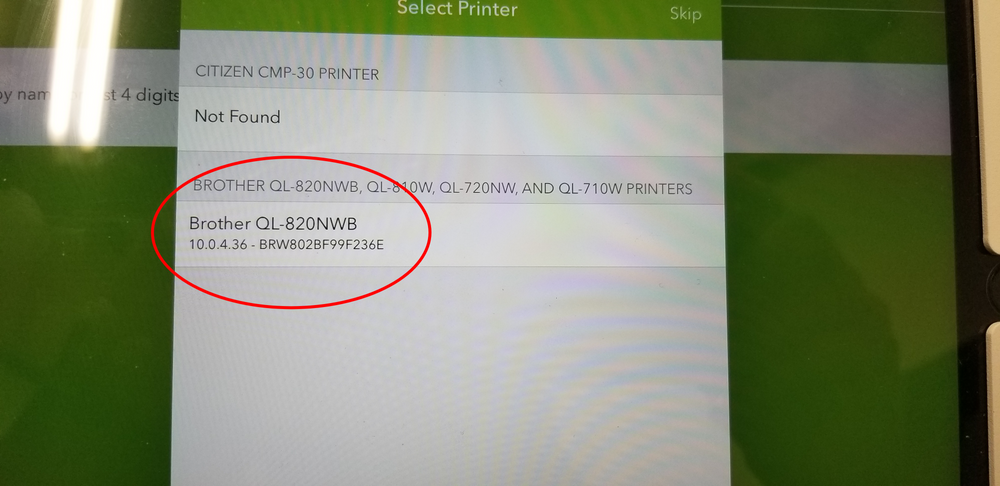
8Return to Options Menu & Select Printers
-
9Select Label Printer and DoneThere should only be one label printer available. This is the printer you select. Then select Done.
Notes:- If you do not see any printers, check to be sure the printer is turned on. Select skip and then select printer again to search for available printers again. It can take a couple minutes before the printer is visible to the iPad. You can check if the wifi signal is solid on the printer.
- We have hard coded the printer options under the Manual printer. Even though you will see multiple printers available on the search, select the manual printer associated with the Check-In Station.
- If you see more than one printer option. Check the other label maker and make sure it is turned off. You need to select the printers one at a time. By not turning on the 2nd printer until the first one is selected, you eliminate the potential of selecting the wrong printer.
- Check-In Station 1 (Sunday School) uses printer 10.0.0.120
- Check-In Station 2 uses printer (Nursery) 10.0.0.155
Did this answer your question?
If you still have a question, we’re here to help. Contact us