How to Get Started with Attendance
-
1Understanding Sessions
Attendance is tracked by Sessions. Sessions are specific days on which attendance occurs. For example, if you have a Teen Sunday School 9:30 AM class that you want to record who was present, create a session for the desired date. You can only create one session per date per group. If there are multiple sessions needed on a specific day, then track the other sessions by creating another group. (For example, if you have both an 8:30 AM and 9:30 AM class, then enter these classes as separate groups.)
If you are going to use check-in with your site, you can establish a session prior to checking people in or you can allow the system to create the session automatically for you as soon as you begin taking attendance.
To create a new Session, follow the steps below.
- Select the Attendance option from the Navigation menu.
.jpg)
- From the Add Session tab, select the Group and then enter the Date of the session.
- The Group members appear in a sidebar menu below the Group and Date fields.
- Click the Search Attendees Field to search for a person that you want to mark present. Type part of a person’s name in the field until that person’s name appears. Click the name on the drop-down box and the person is marked present.
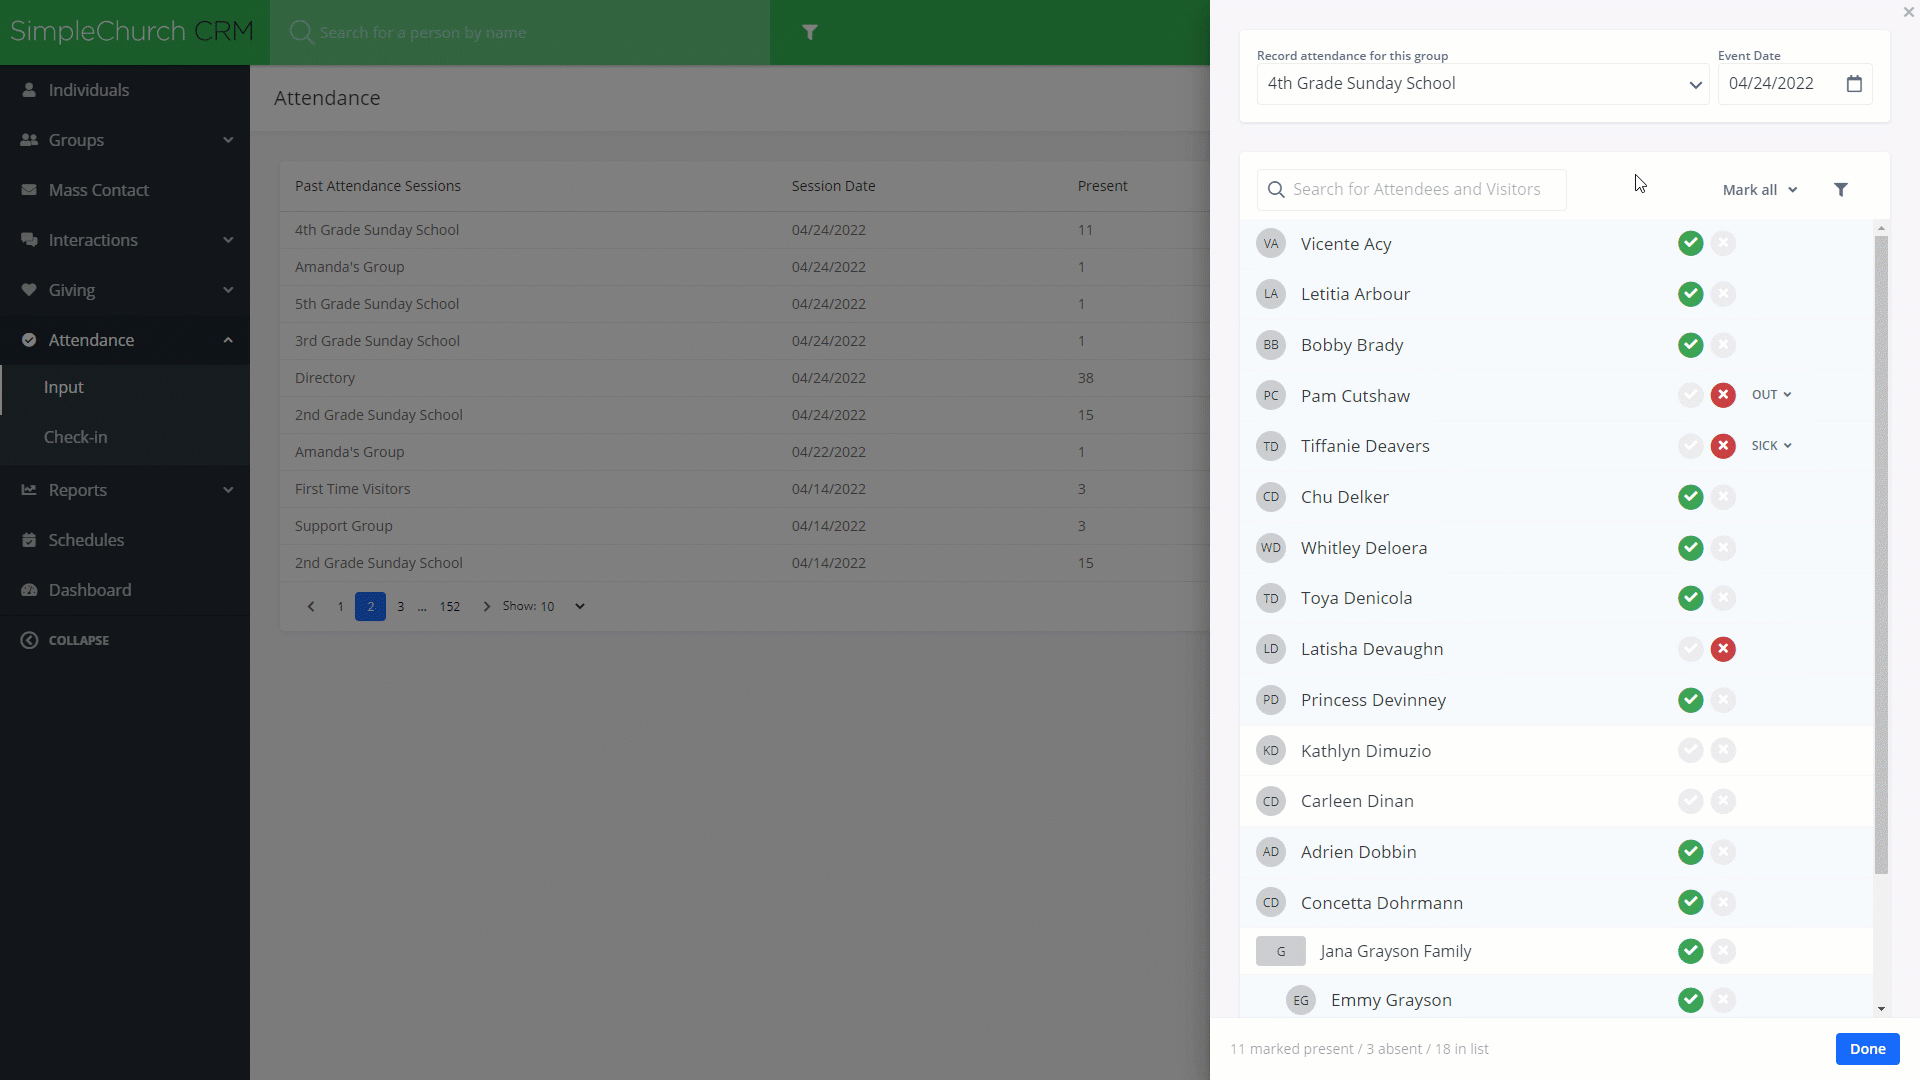
- If you would like to Add A Visitor OR Add A New Individual, you may do this by entering a name into the Search for Attendees field and clicking the +Create New Individual button. From this modal screen, you may enter this individual's information as a full record into your database or simply add them as a visitor by using the radio buttons at the top of the modal.

- Enter the attendance for each individual in the group and then click the Save button.
NOTE: You can also click the Save button with no attendance recorded to add this Group and Date as a session.
-
2Manage Visitors on-the-fly
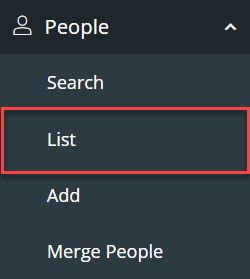
If you added a visitor on-the-fly using the “Add an Individual not in the list…“ option while you were adding a new session, then those individuals can be further managed in your database. To manage these individuals who were added as a visitor, select the Individuals option from the Navigation menu and then click the List option.
Next, click the Visitors tab.
If you would like to delete the Visitor, from the Visitors tab, click the Delete button to remove them from your database.
Click on the First Name link to add the individual to a group. After adding the individual to a group, click the Continue button and then add any additional information to the record. When you are finished, click the Save button.
-
3Print an Attendance Roll
An Attendance Roll can be printed to track attendance. Follow the steps below to print an attendance roll.
- Click the Groups option from the Left Navigation.
- Select the groups for the attendance roll by checking the boxes next to each group. From the Three-Dot Icon, select the Print Attendance Roll option.
- Select the Date for the Attendance Roll and any other options and then click the Go button.
- The Attendance Roll is automatically downloaded to your device as a PDF file. You can then open the file and print it, email it, etc.