Calendar: Setting up Event Proposal and Approval ONLY Roles
-
1Create Roles
You can create roles in the Calendar that will allow users to only Propose events, and also roles that will allow users to only Approve those events. Usually, a role is broader than this, but it is helpful in some scenarios to be able to limit these options.
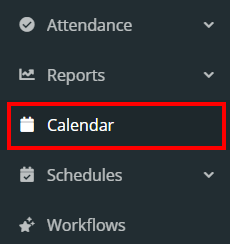
- Click Calendar in the left navigation menu.
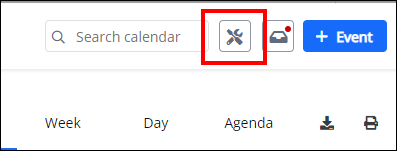
- Click on the calendar settings icon at the top, right corner of the screen.
- On the left-hand side of the screen click on Permissions

A role is simply a combination of permissions that you select / specify. Assigning a role to a user for the Calendar accomplishes two things: First, it allows that user to access the Calendar when they log in. Next, it grants them the permissions that are selected / included in the role that is assigned to them.
-
2Propose Events
Create a role(s) for certain calendar users, allowing them to “propose” events but not to “create” events. It would also be recommended that at a minimum they be able to only "view" events. Instead of that option, you can also limit the user to only being able to have event visiblity based on a calendar view (collection of saved filters).
If using campuses, make sure to select which one(s) the user should have access to. Leaving the Role with no campus selected allows the member to choose ANY campus when adding an event.
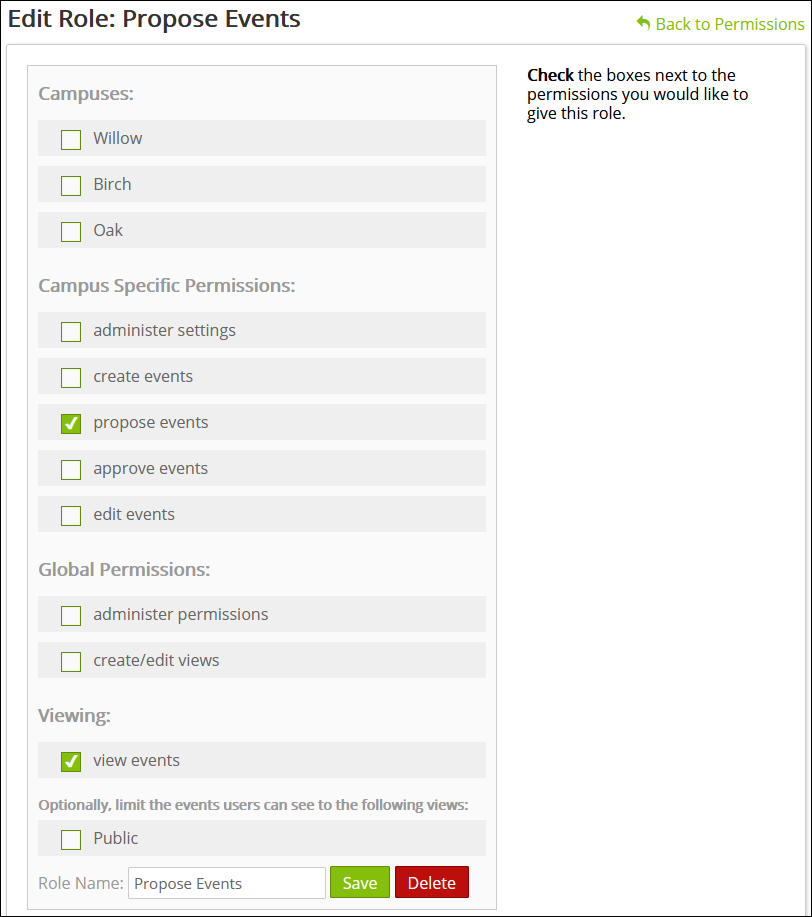
Select Save to update the created role.
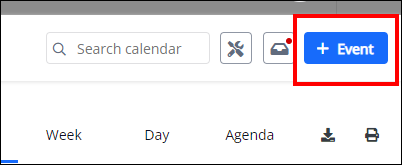
For users who are assigned roles with this specific combination of permissions, they can select the “Add Event” option in the Calendar. The user will create the event with all the details and notes as any other user would. However, when they click Save , the event is not added to the calendar right away. It is instead placed in a pending queue / list of events pending approval.
-
3Approve Events
Now, assign appropriate roles for calendar “approvers” - users with permission are able to approve proposed events. Create a role(s) for your staff and leaders who will approve proposed events by selecting the “Approve Events” permission as part of the role.
If using campuses, make sure to select which one(s) the user should have access to. Leaving the Role with no campus selected allows the member to choose ANY campus when approving an event.

Select Save to update the created role.
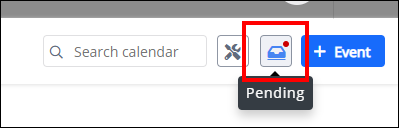
For users who are assigned roles with this specific combination of permissions, they can approve events proposed in the Calendar queue. On this screen, which is under the Pending menu link, the user can open the event by selecting the Title.
The user may click on the event title needing approval.

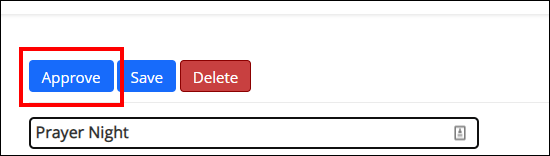
The event will open giving the user the ability to Approve, edit, Save, or Delete the event.