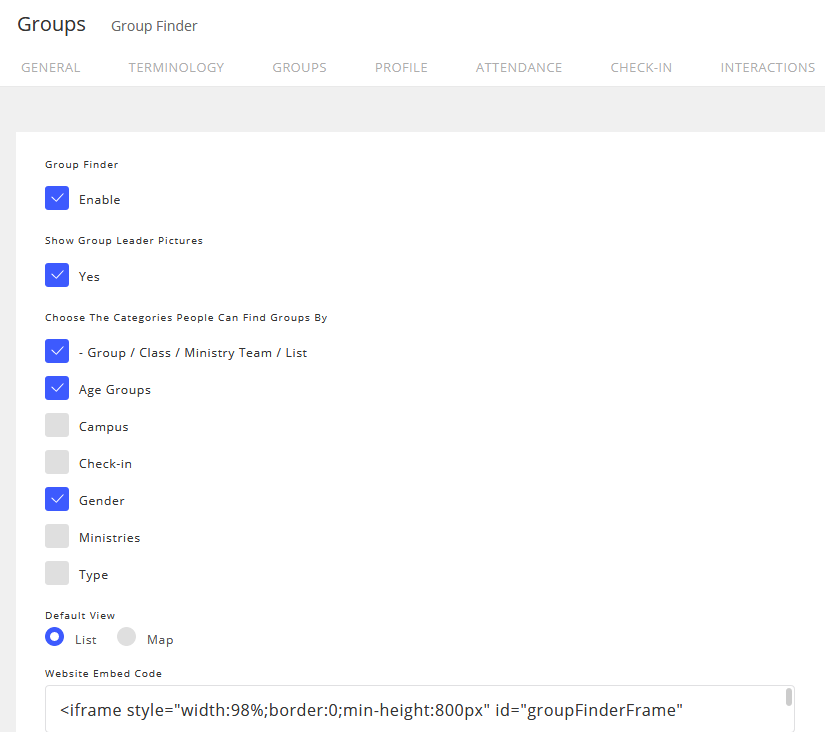
Group Finder
The Group Finder is a great feature that will allow your members to find groups in their area, according to their interests. You can also configure it so that individuals can add themselves to groups, or ask to be added to the group.
-
1Configure Groups to Utilize the Group Finder
Look for more on Group Settings here: All Group Properties
- Click on the sidebar Groups Tab.
- Click the Pencil Icon
to edit the Group you'd like to add to the Group Finder.
- Review and fill in the form, with:
- Name of Group (Required)
- Description (Optional)
- Leader (Optional)
- Address where the group meets (Optional)
- Meeting Day & Time (Optional)
NOTE: In order for your group to display in the group finder you have to enable one of the first two options below.
- Allow people to request to join the group
- When people try to join this group, they will not be added automatically. Instead, the Group Leader will be emailed so he/she can either approve or decline.
- Allow people to add themselves
- Check this if you want to let people add themselves to a group.
- The designated Group Leader will receive an email when a person joins.
- Apply your desired Properties using the SAVE button at the bottom.
-
3Embedding the Group Finder Into Your Website
Important Consideration
The embed code is provided "As Is" and cannot be modified aside from the preferences list in the settings. For more flexibililty in the look and feel of the Group Finder, you will want to explore our integration options mentioned at the top of the article.
- Select General Settings
 → Groups.
 - Click on the Group Finder link.
- Copy the "Website Embed Code" from the bottom of the page, and paste it into your website.
Note: This embed code cannot be pasted into the body of your website like normal text. You will need to use the "View Source" option in your website's WYSIWYG editor and then paste this embed code.
- Select General Settings
-
4


