Using Groups in Simple Church
Groups are classifications of people. They can be descriptive - such as age group, membership status, etc. or they can be an event or activity where we might take attendance - such as Sunday School classes.
People can belong to many types of groups and automated workflows can move people between groups in some circumstances.
People can belong to many types of groups and automated workflows can move people between groups in some circumstances.
-
1Select the Group1. Select List under Groups
2. Begin typing the groups name, SC will automatically find groups that contain those letters.
3. Select the group from the populated list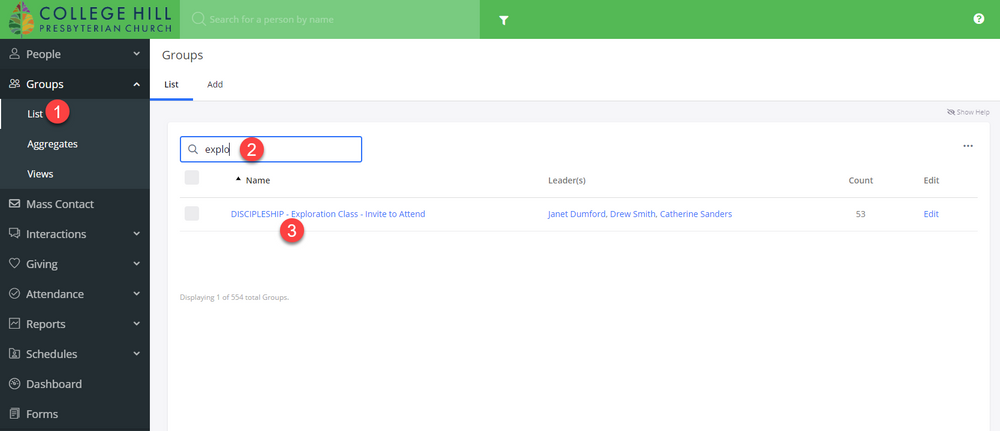
-
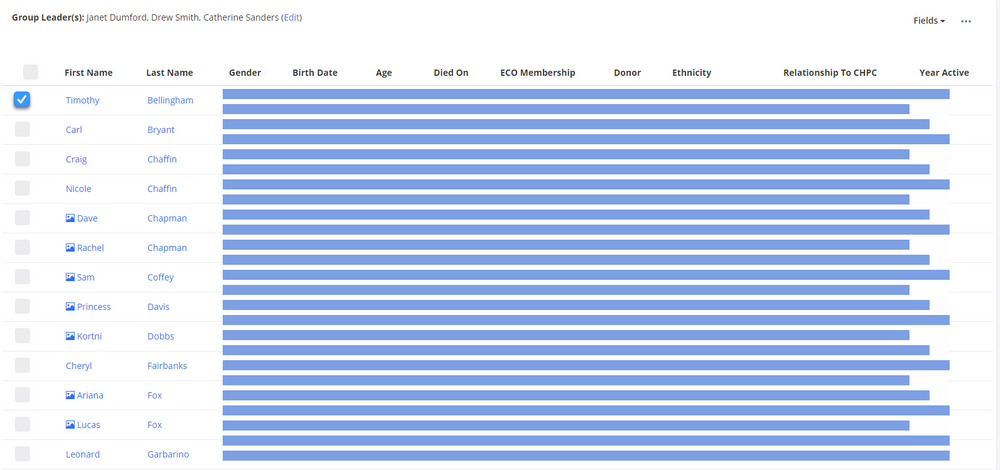
2Review group membersSelect group members by checking the box to the left of the name. To select all, check the box at the top left.
-
3Delete group members1. Select Names
2. Select the 3-dot menu
3. Select Remove from Group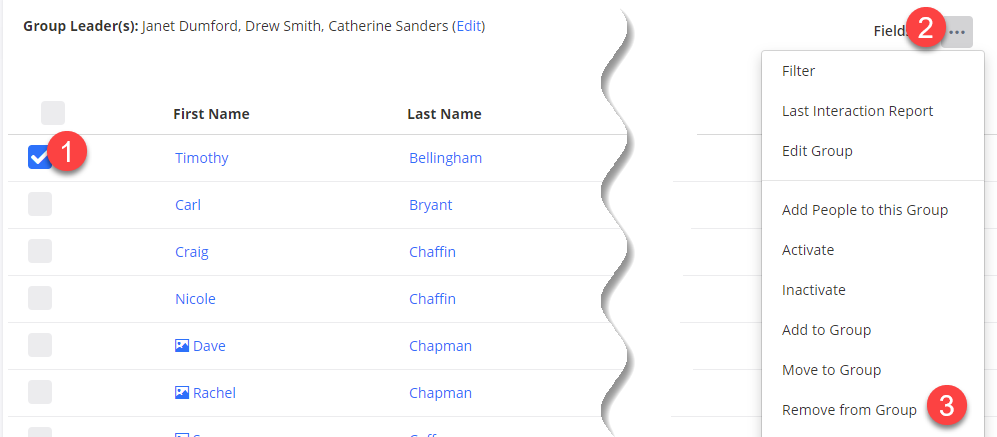
4. Select Yes, to remove from group when prompted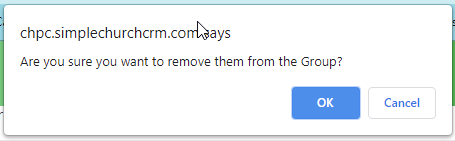
-
4To add members to the group1. Use 3-dot Menu
2. Select Add People to this group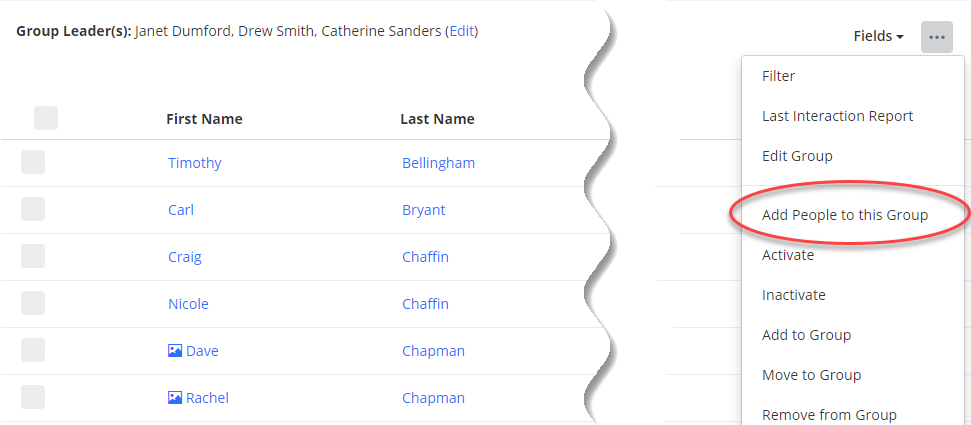
3. Begin Typing name of person. SC will automatically populate names to select.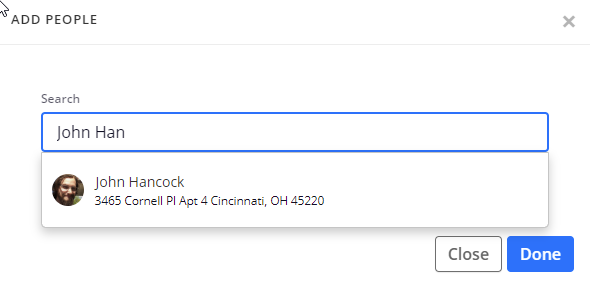
4. When you have correctly selected an individual, their name will appear below the search box. Select as many people as needed and then select done.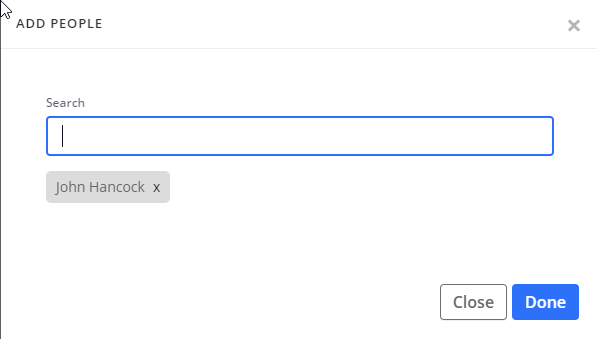
Did this answer your question?
If you still have a question, we’re here to help. Contact us