Baptism Tub Setup: Sanctuary
-
1Sanctuary SetupThe tub is to be moved from the Sanctuary S.W. Corner to the Platform niche using two small 4-wheel dollies. Long term tub storage is in the Sanctury S.W. corner.
Wipe out the tub once or twice using a microfiber cloth from the Janitors Closet to make it spotless. Any dirt will float and be visible on the water.
Please wipe out the tub with the microfibers after use as well. (Microfiber cloths are very good at trapping dirt and germs until released into the washing machine.)
Place the used cloth(s) on the basket rim on the kitchen washing machine to dry and be washed.
-
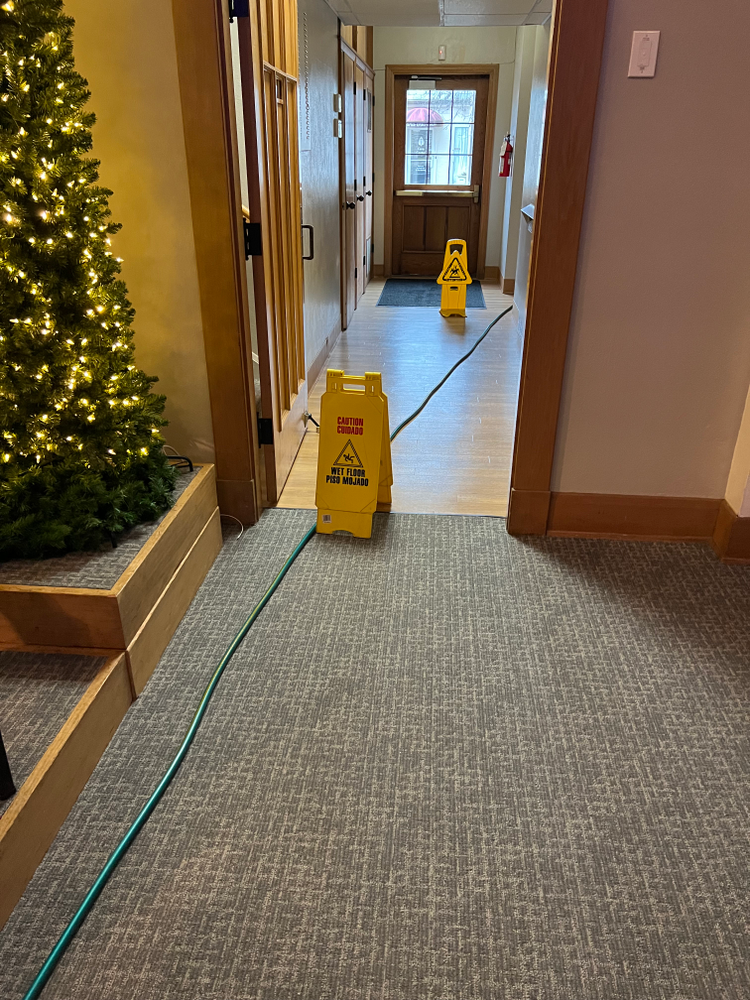
2Crossing hallways with safety caution signs. Use two of them.
-
3Transporting The Baptismal Tub
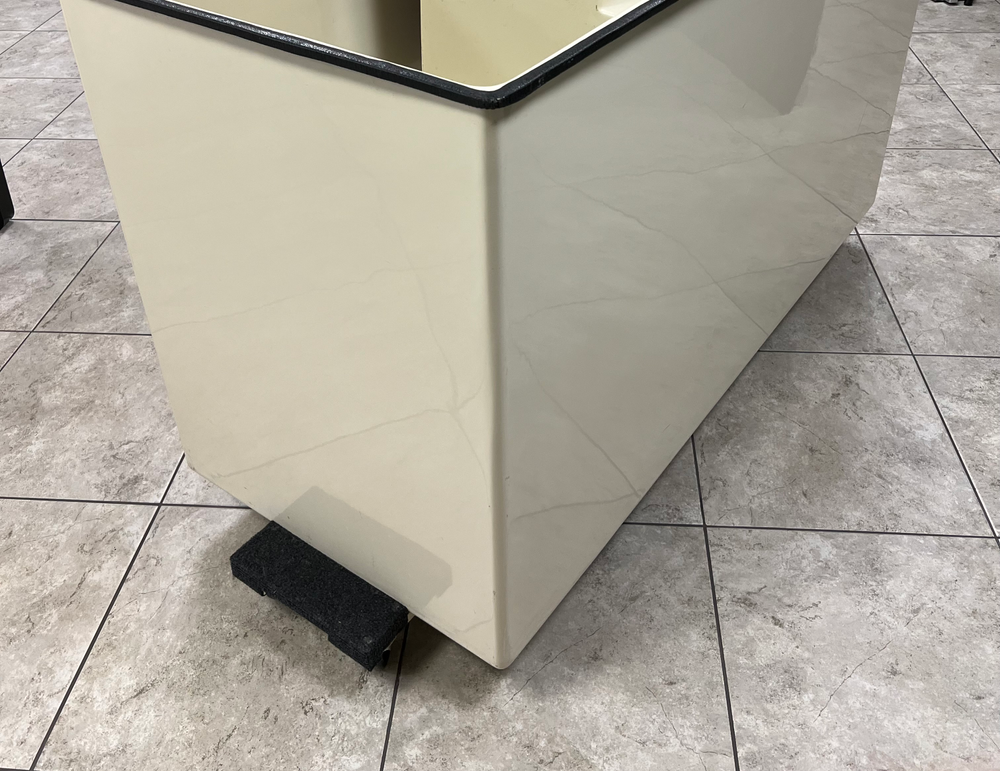
- Use the two small dollies to move the tub.
- Notice that the bottom of the tub is hollow so the tub should set on the wood part of the dolly, not the carpet. This locks the dolly to the tub between the carpet ends so the tub can't move off the dolly while in motion.
-
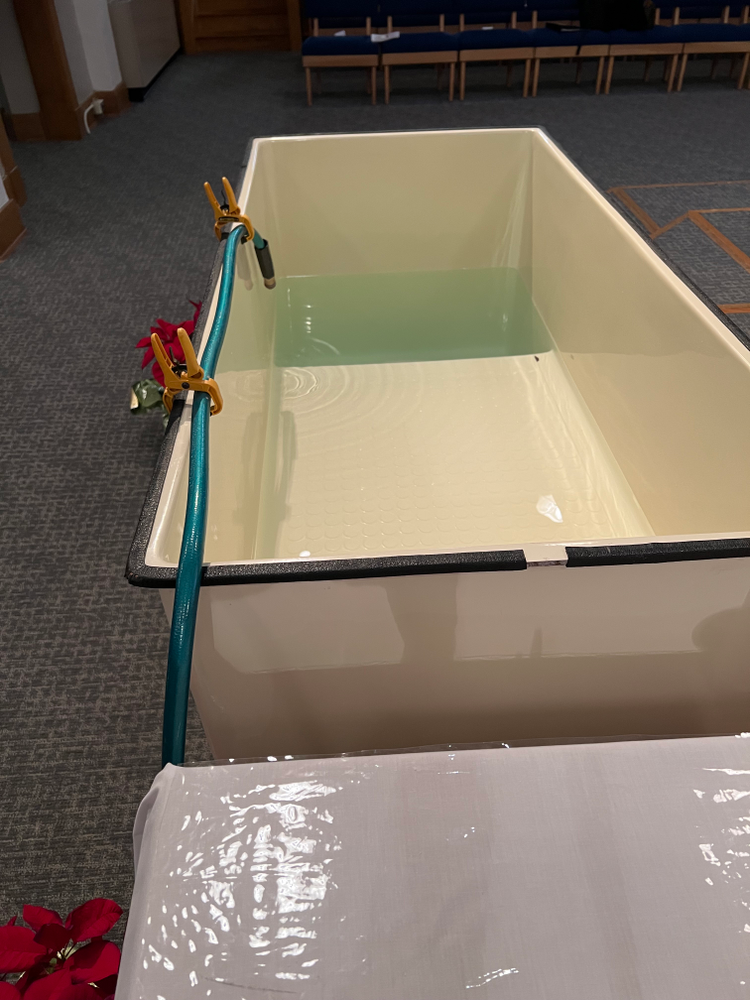
4Filling the tub with waterClamp the hose to the side of the tub so it cannot move. (Option: No-residue duct tape can also be used to hold the hose close to the side of the tub so the water doesn’t make a splashing sound which may be undesirable during rehearsals.) The Sanctuary hot water heater has a limit and will adequately fill the tub but it doesn't have any extra immediate capacity. Do not fill past the fill line in the tub or you risk overflowing when people get in. The dark spots are defects in the fiberglas that have been sealed so they are smooth and safe.
-
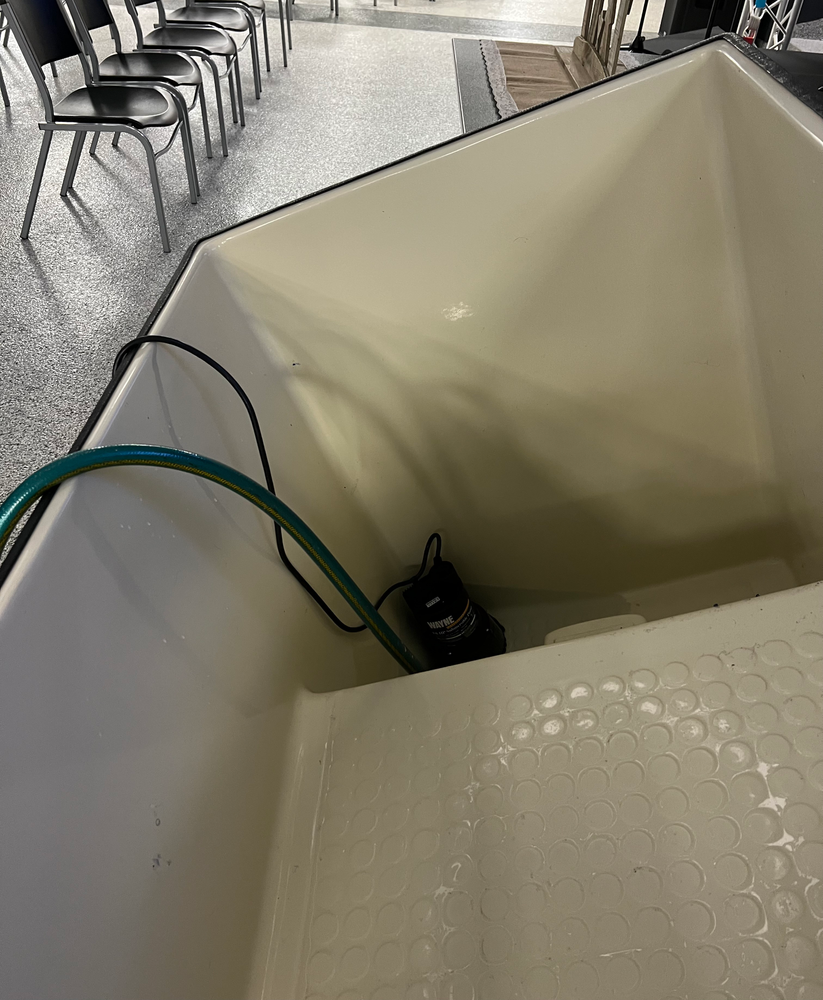
5Draining The Tub
 Plug the GFCI equipped, yellow extension cord into the outlet on the stair riser, under the chairs to the left of the organ.
 - Connect the hose to the portable pump.
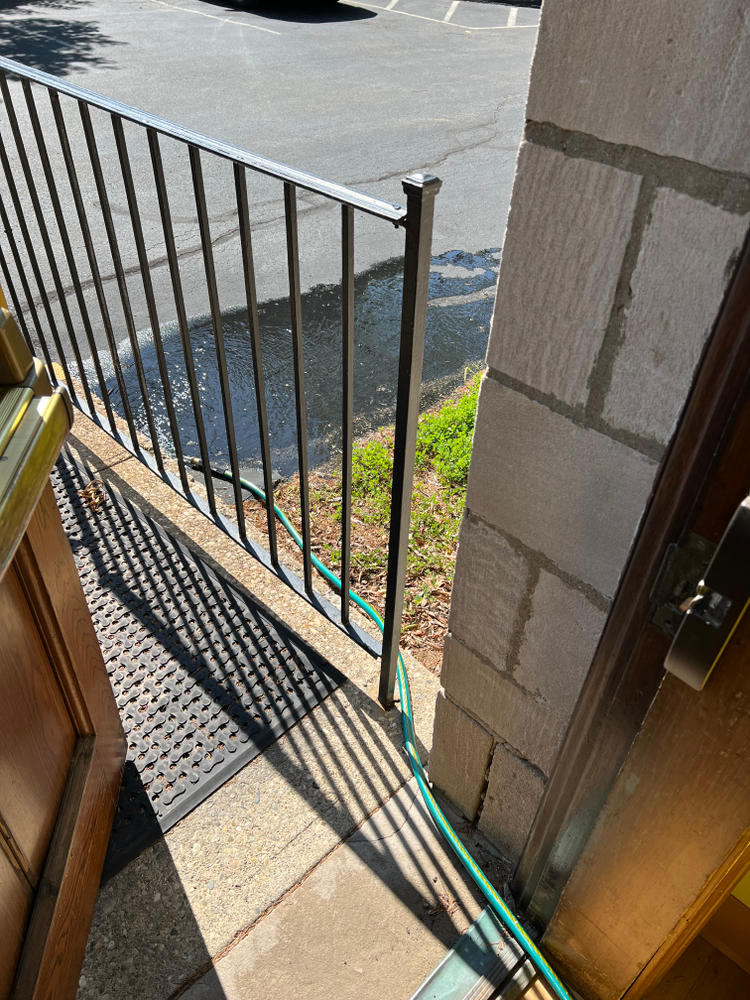
- Route the hose out the exterior hallway door and to the right so it drains into the driveway. Slowly close the door and it will hold the hose in position.
- Place the pump with the hose into the deep part of the tub.
- Plug in the pump and it will pump the tub out in about 15 or 20 minutes.
- When you get to the lowest part of pumping, the tub can be lifted and tipped on the shallow end to allow the water to gather in the corner so the pump can get 99% of the water out.
- Once it is finished, unplug the pump, disconnect the hose from the pump and coil the hose in a 3' to 4' diameter coil so it will fit between the mop sink and the wall with room for the yellow extension cord. By keeping the hose outside while making the coil, all the water will run out of the hose. This is important so it will not drain into the closet when put away.
- Coil the yellow extension cord in a large (3' to 4') loop coil as well. Place this on the wall bracket next to the mop sink with the hose.
- The pump is stored on the floor to the left of the sink in the rear corner.
- Clamp the clamps around the extension or hose for storage.

-
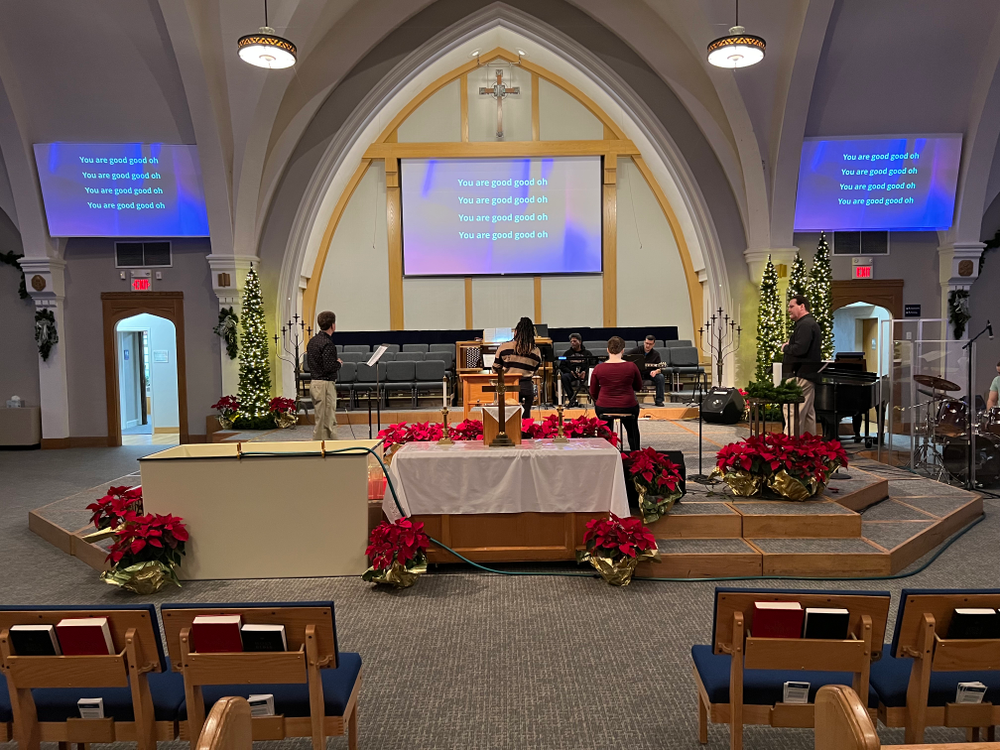
6Optional Tub Setup
- The tub can be set to the left of the communion table if two of the stair steps are moved to temporary storage next to the bell room door.
- Use the dollies to move the steps and stack them as shown in the photo.
- See photo for location as the hose is not long enough to reach any farther.
- Place the triangular step at the end of the tub for safe and even steps. Beware that the step might stick out past the tub and be a trip point unless things are arranged carefully.

Did this answer your question?
If you still have a question, we’re here to help. Contact us