SC | How to Perform a Manual Inventory Sync with Shopify
The Inventory Sync between InfoPlus and Shopify is configured and managed on the Shopping Cart Connection table within InfoPlus
A manual inventory sync can be completed in two (2) ways:
A manual inventory sync can be completed in two (2) ways:
- For ALL ITEMS on the Shopping Cart Connection table in InfoPlus
- For SPECIFIC ITEMS on the Item Table in InfoPlus
-
1Sync ALL Items or SPECIFIC Items?Are you wanting to sync ALL items or SPECIFIC items with Shopify?
-
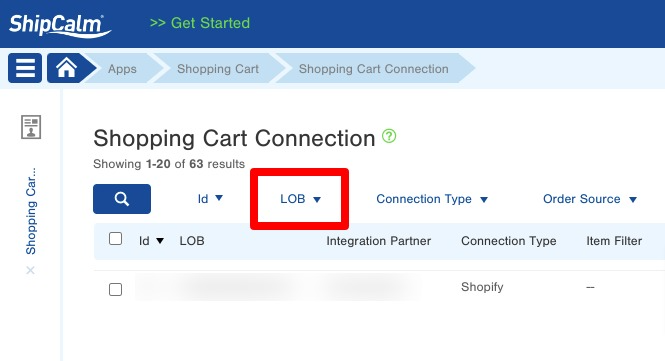
3Filter by LOB attempting to SyncNote: If the LOB is not showing in this table, then ShipCalm does not have an Inventory Sync setup and one will need to be set up to activate inventory syncing.
- Reach out to your personal ShipCalm email to create a support ticket on this topic to establish the inventory sync between Shopify and InfoPlus.
- 'customername@shipcalm.com'
- Reach out to your personal ShipCalm email to create a support ticket on this topic to establish the inventory sync between Shopify and InfoPlus.
-
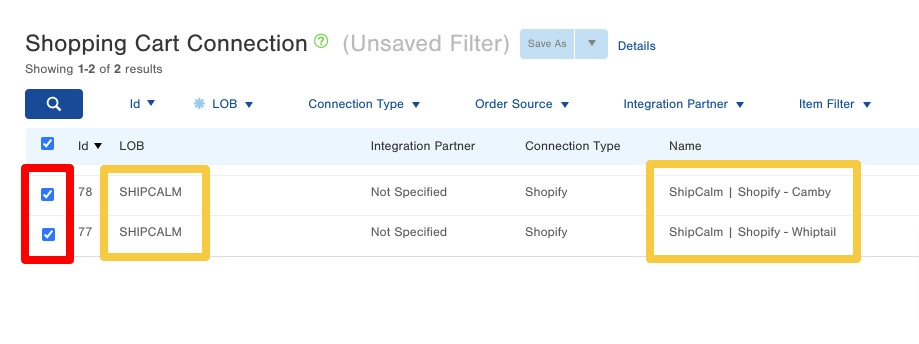
4Select Shopify Store / Warehouse to SyncNote: There is a Shopping Cart Connection for EACH warehouse.
- If you need to SYNC ALL items, be sure to select BOTH of the Shopping Cart Connections to sync inventory for both warehouses.
-
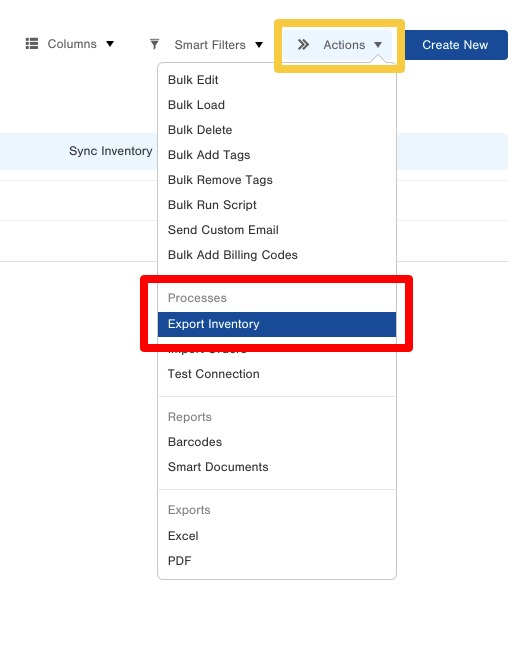
5Run Action: Export InventoryAfter the Shopping Carts have been selected in the table, use the Actions dropdown menu and then select 'Export Inventory' under the Processes section.
-
6Submit the Actions ProcessInfoPlus will run through all of the SKUs on the Item table and check to see if there are any SKUs that require an inventory update.
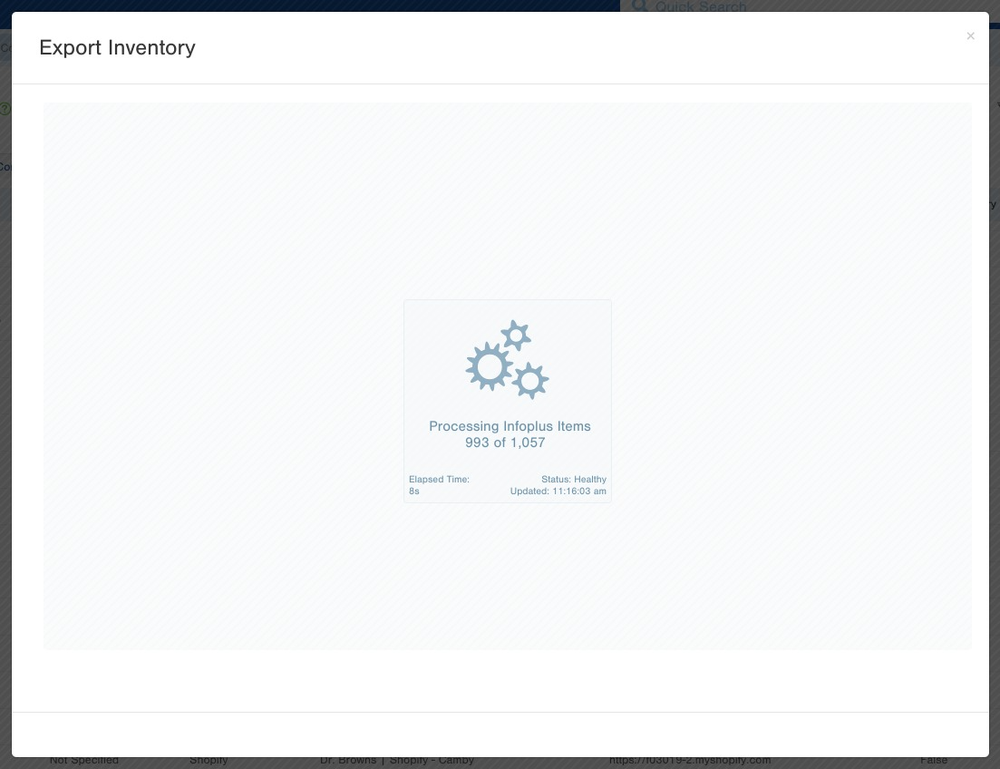
Once the check of all items has been completed there will be a screen that will show which SKUs require an Inventory Update and what that update will be (NEW QTY).- GREEN = SKUs that will have inventory updated in Shopify
- YELLOW = SKUs that DO NOT require an update because InfoPlus and Shopify have a positive quantity
- RED = SKUs that DO NOT require an update because the inventory quantity is ZERO
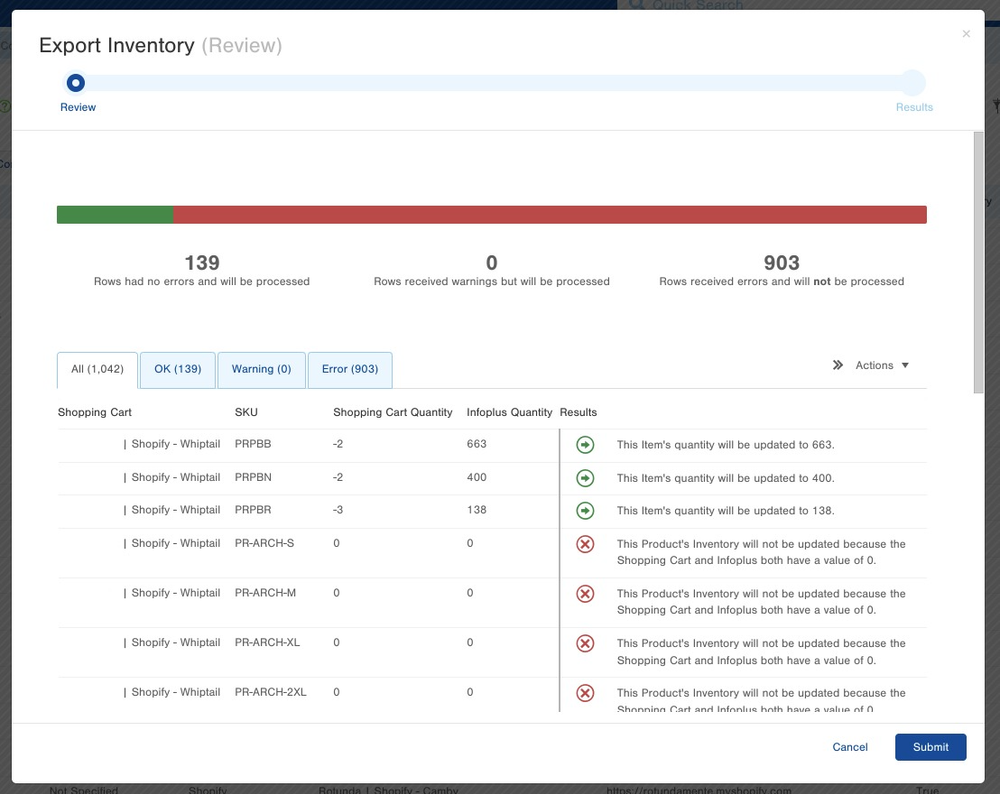
Select SUBMIT on this page above and the system will submit all of the changes to be made (GREEN) to Shopify and the inventory will be updated!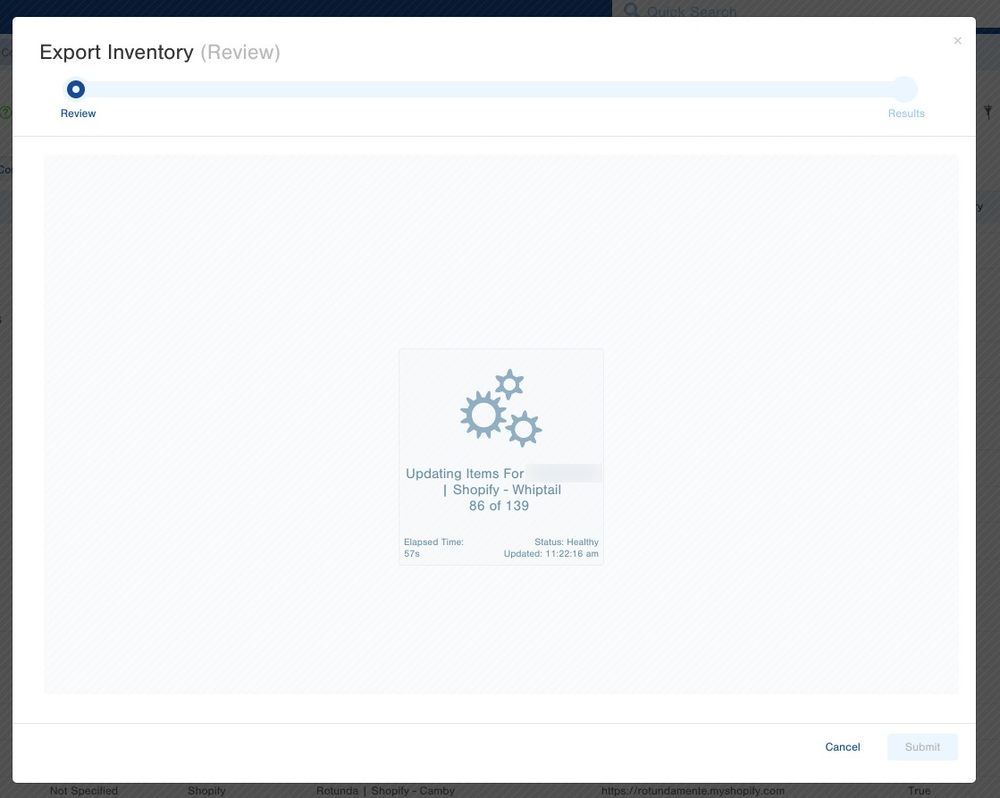
-
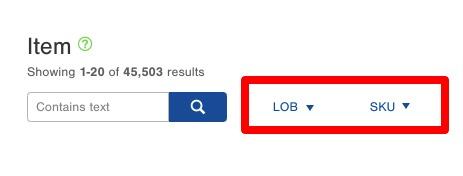
8Filter by SKUs wanting to SyncTo sync specific SKUs we will need to filter the Item Table using the filter options at the top of the table. These filters can be by:
- LOB (Line of Business)
- SKU
- Item Description
- etc.
-
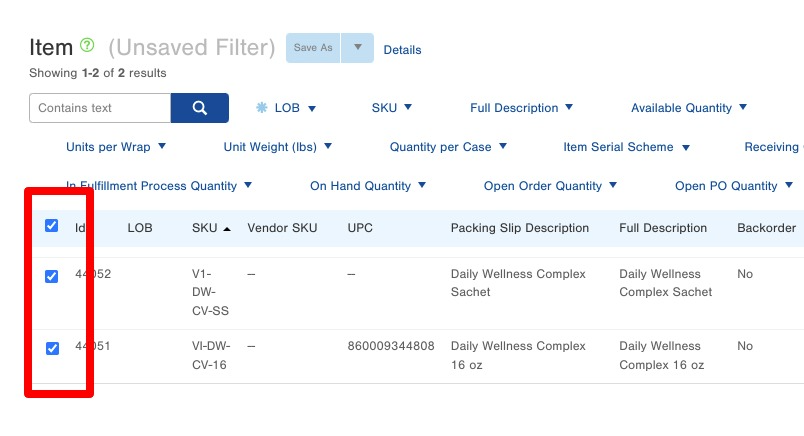
9Select / Highlight SKUs wanting to SyncAfter filtering the Item table, select the SKUs that you want to specifically sync with Shopify.
-
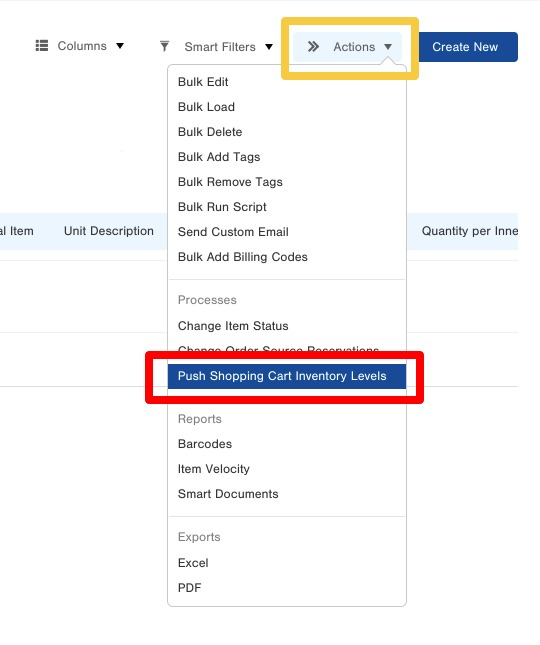
10Run Action: Push Shopping Cart Inventory LevelsAfter the specific SKUs are selected, use the Actions dropdown menu and then select the option for 'Push Shopping Cart Inventory Levels'
-
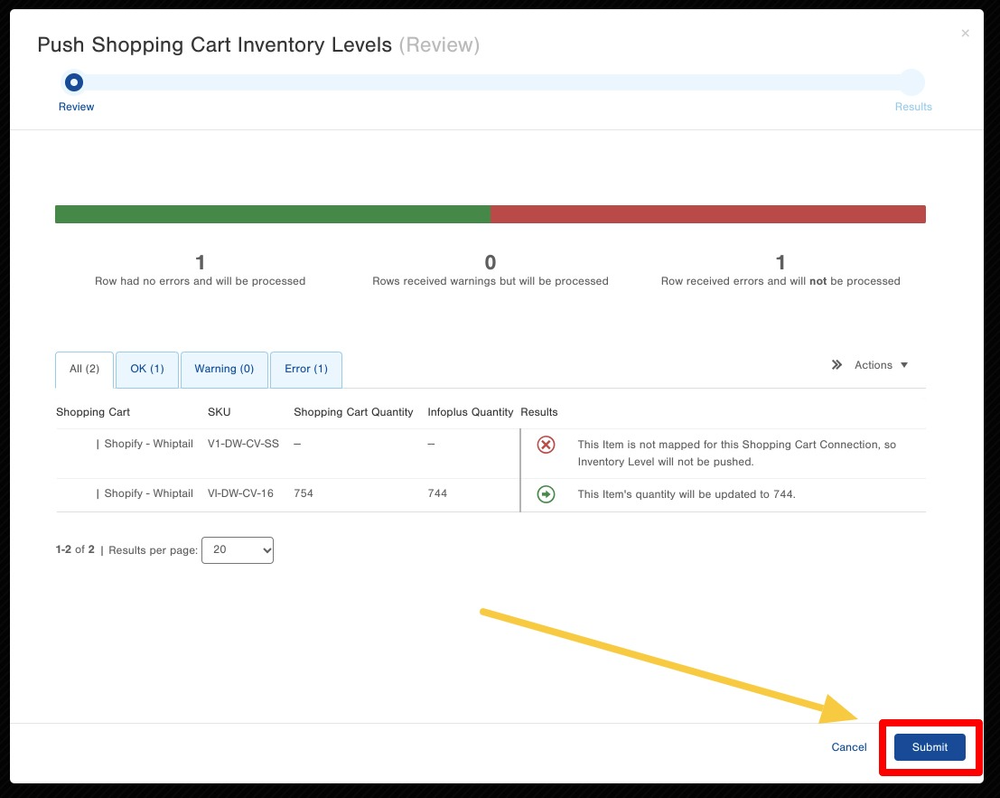
11Submit the Review of the Shopping Cart ConnectionInfoPlus will run through all of the SKUs that were selected on the Item table and check to see if any SKUs require an inventory update.
Once the check of all items has been completed there will be a screen that will show which SKUs require an Inventory Update and what that update will be (NEW QTY).- GREEN = SKUs that will have inventory updated in Shopify
- YELLOW = SKUs that DO NOT require an update because InfoPlus and Shopify have a positive quantity
- RED = SKUs that DO NOT require an update because the inventory quantity is ZERO
-
12End
Did this answer your question?
